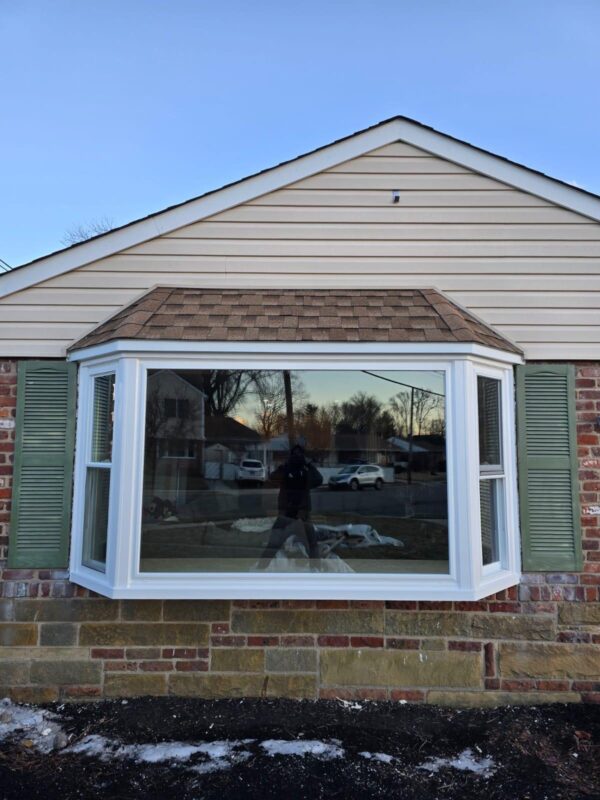
Window replacement projects transform your home’s energy efficiency, curb appeal, and comfort. But the success of your window replacement Tri State Area project depends heavily on what happens before the installers arrive. Proper preparation protects your belongings, speeds up installation, and reduces stress for everyone involved.
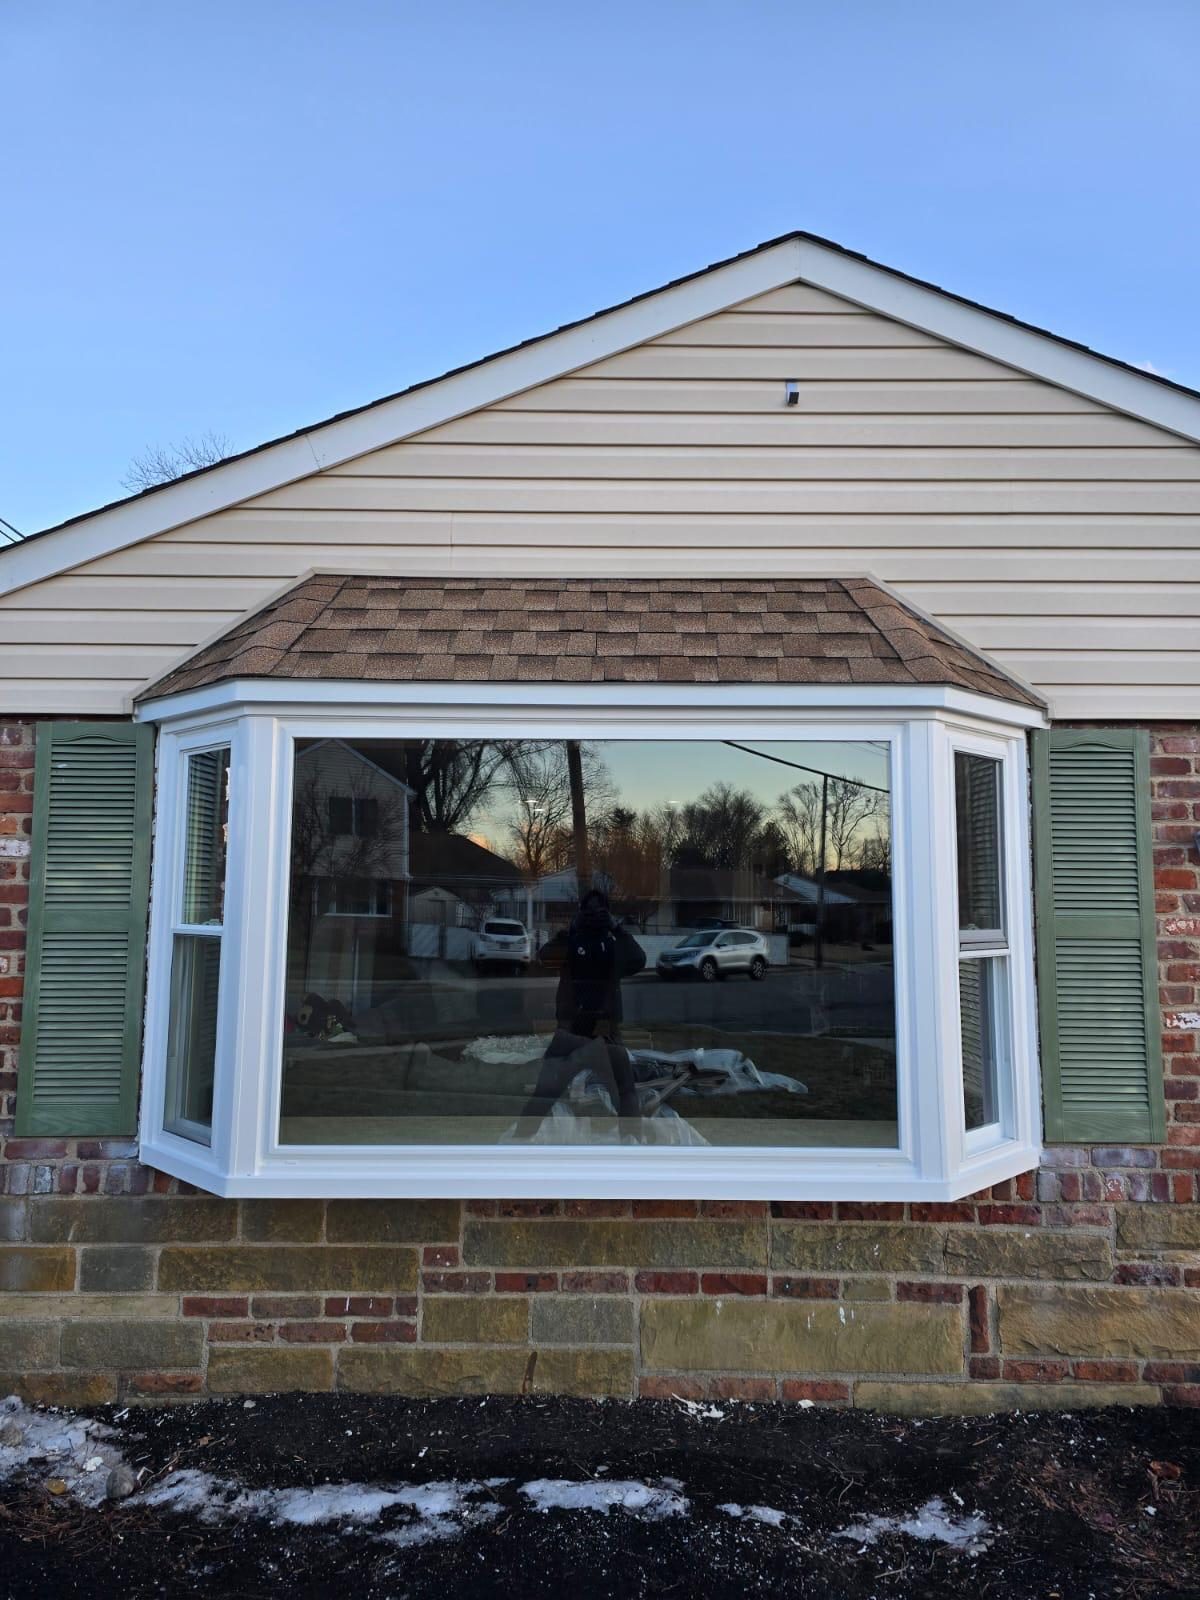
Pennsylvania homeowners planning window upgrades across Bucks County, Philadelphia suburbs, and surrounding townships can turn a multi-day disruption into a smooth, efficient process with the right advance work. This guide covers exactly what to do before installation day, room by room and step by step.
Why Home Preparation Matters for Window Projects
Installation crews work most efficiently when they have clear access to every window opening. Obstacles, fragile items, and unprepared spaces slow the process and increase the risk of accidental damage to your belongings. Homeowners who prepare thoroughly often see installation time reduced significantly, sometimes completing in one day what might otherwise take two.
Clear preparation also protects your investment. Dust and debris are unavoidable during window removal, but advance work minimizes what settles on furniture, electronics, and flooring. Professional contractors appreciate prepared spaces and can focus entirely on quality installation rather than working around household items.
Interior Preparation: Room by Room Checklist
Start inside your home at least two days before the scheduled installation. Each room with windows requires specific attention to furniture, window treatments, and nearby belongings.
Clear a Three-Foot Zone Around Every Window
Move all furniture, plants, and decor at least three feet away from every window opening. Installers need room to maneuver replacement units, remove old windows, and access the rough opening from multiple angles. Heavy furniture that cannot be moved completely should be covered with drop cloths and shifted as far as possible from the window wall.
Remove curtains, blinds, shades, and all window treatments before installation day. Take down curtain rods and valances as well. These items collect dust during removal and are easier to clean when taken down in advance. Store them in a separate room away from the work area.
Protect Floors and Remaining Furniture
Even with careful work, dust and small debris will fall during window removal. Roll up area rugs and remove them from rooms with scheduled window work. For wall-to-wall carpeting, professional installers typically lay drop cloths, but you can add an extra layer of protection with plastic sheeting taped at the edges.
Cover any furniture that remains in the room with plastic sheets or old blankets. Electronics, particularly computers and gaming systems, should be unplugged and moved to another room entirely. Dust infiltration into sensitive equipment can cause long-term problems.
Remove Wall Decorations and Shelving
Take down pictures, mirrors, and shelves from walls adjacent to windows. Vibration during old window removal can cause items to fall, and installers need clear wall space to position ladders and access the window opening from different angles. Empty and remove window sills of any decorative items, photos, or plants.
Exterior Preparation: Access and Clearance
Installers need clear access to the exterior of every window opening. Walk around your home and evaluate each window location from outside, noting any obstacles that could slow the crew down.
Clear Landscaping and Obstructions
Trim back bushes, shrubs, and tree branches within four feet of any window. Installers often work from ladders positioned just outside the window opening, and overhanging branches or dense shrubs create safety hazards and slow progress. If you have flower beds directly beneath windows, consider transplanting delicate plants temporarily or marking their location clearly so crews can avoid them.
Move outdoor furniture, grills, planters, and decorations away from the house. Installers need a clear work zone and staging area for new window units. Garden hoses, lawn equipment, and children’s toys should also be relocated to avoid tripping hazards.
Ensure Driveway and Walkway Access
Professional window installation requires a truck or van parked close to the home for easy access to replacement units and tools. Clear your driveway and mark any underground sprinkler lines, septic system components, or utility access points. If street parking is the only option, notify neighbors in advance about temporary obstruction.
Check that walkways from the vehicle to every window location are clear and safe. Installers will carry large, heavy window units, and uneven pavers, loose gravel, or muddy paths increase the risk of accidents and product damage.
Coordinating Utilities and Home Systems
Window replacement does not typically require shutting off electricity, water, or gas, but certain home systems need temporary adjustment on installation day.
HVAC and Air Quality Considerations
Plan to turn off your central air conditioning or heating system during installation. Open windows create significant air leaks that force your HVAC system to run continuously, wasting energy and making temperature control impossible. Schedule installation during moderate weather when possible, allowing you to keep the system off without discomfort.
If anyone in your household has severe allergies or respiratory sensitivities, consider arranging for them to spend installation day elsewhere. Dust levels rise during old window removal, even with professional precautions, and sensitive individuals may experience discomfort.
Security System Adjustments
If your home security system includes window sensors, contact your alarm company before installation day. Sensors will need to be temporarily disabled or removed during the project and reinstalled once new windows are in place. Some homeowners overlook this step and trigger false alarms when installers begin work, causing unnecessary delays and potential fees.
Planning for Pets and Children
Window installation creates noise, disruption, and open access points to your home. Families with young children or pets need additional planning to keep everyone safe and comfortable.
Pet Safety During Installation
Dogs and cats should be confined to a separate room away from all window work, ideally with a closed door and a note alerting installers to the pet’s presence. Open windows and exterior doors during installation create escape opportunities, and unfamiliar workers in the home can stress animals and lead to defensive behavior.
Consider boarding pets for the day if your home layout makes secure confinement difficult, or if you have particularly anxious or territorial animals. The investment in temporary boarding often proves worthwhile compared to managing pet safety during active construction.
Child Safety and Schedule Planning
Young children should not be present in rooms where window installation is happening. Flying debris, power tools, and large glass units create hazards. If possible, arrange childcare for installation day, or designate a safe play area in a distant part of the home with a responsible adult present.
For older children and teenagers, brief them in advance about the project, the workers who will be present, and safety expectations. Establish clear boundaries about which areas are off-limits during installation.
Special Considerations for Pennsylvania Homes
Homes across the Tri State Area, particularly older properties in Bucks County townships like Newtown, Yardley, and Langhorne, often have unique characteristics that require extra preparation steps.
Historic Home Window Replacements
Properties with historic designations or located in historic districts may require permit approval before window replacement. Contact your local township building department at least three weeks before the planned installation date to confirm requirements. Some municipalities require specific window styles, materials, or approval from a historical architectural review board.
If your home has original wood windows with true divided lites, prepare for a more complex installation process. Replacement windows in historic openings sometimes require custom sizing and additional structural work, extending the project timeline beyond standard installations.
HOA and Township Notification
Homeowners in planned communities or neighborhoods with active homeowners associations should review HOA rules regarding exterior modifications. Some associations require advance notice, specific window styles, or color approvals even for direct replacements. Submit any required paperwork and receive written approval before scheduling installation.
Pennsylvania townships vary in their permitting requirements for window replacement. While many consider replacement windows a repair rather than new construction, some require permits for safety inspections. Check with your local building department and coordinate any required inspections with your contractor.
Day-Before Final Checklist
The day before installation, complete a final walkthrough of your home to verify everything is ready. Confirm that all interior spaces have clear three-foot zones around windows, all window treatments are removed, and exterior access is clear. Charge your phone fully so you can communicate easily with the installation team if questions arise.
Review the project scope with your contractor one final time. Confirm the exact windows being replaced, the expected timeline, and what happens if weather or unforeseen issues cause delays. Clarify where installers can access water and restrooms, and where they should place debris and old window units for removal.
Prepare a designated staging area inside your home where the installation team can place tools and materials out of the way of household traffic. A garage, basement, or cleared room works well for this purpose.
What to Expect on Installation Day
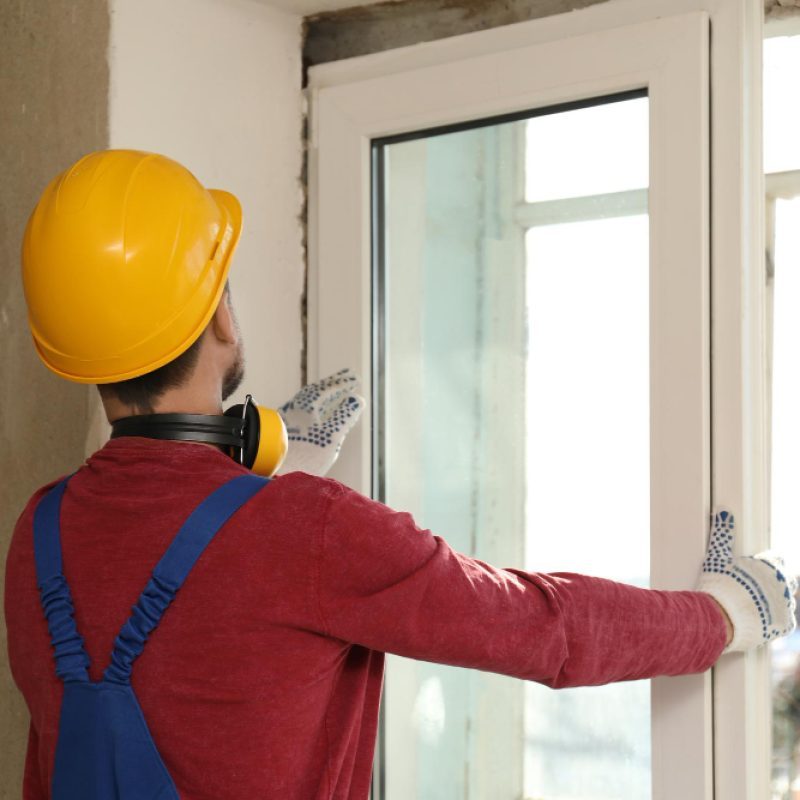
Professional window installation typically begins early in the morning. Crews arrive with all necessary equipment, replacement units, and materials. Expect noise from power tools, vibrations as old windows are removed, and temporary openings as each window is replaced one at a time.
Most single-family homes with eight to twelve windows can be completed in one full day by an experienced crew. Larger projects or homes with custom window sizes may extend into a second day. Throughout the process, installers remove old units, prepare rough openings, install new windows, insulate gaps, and finish with interior and exterior trim work.
Pro Tip: Keep your project manager’s contact information easily accessible on installation day. Direct questions or concerns to them rather than individual crew members to ensure consistent communication and quick problem resolution.
Post-Installation Clean-Up Expectations
Professional installers clean the work area after completing each window and perform a final clean-up at the end of the day. However, fine dust may settle on surfaces even after thorough contractor cleaning. Plan to wipe down windowsills, floors, and nearby furniture after the crew leaves.
New windows often have protective film or stickers on the glass that should remain in place for the first few days to prevent scratching during final touch-ups. Your contractor will provide specific guidance on when to remove these protective coverings and how to clean your new windows for the first time.
Preparing for Multi-Service Exterior Projects
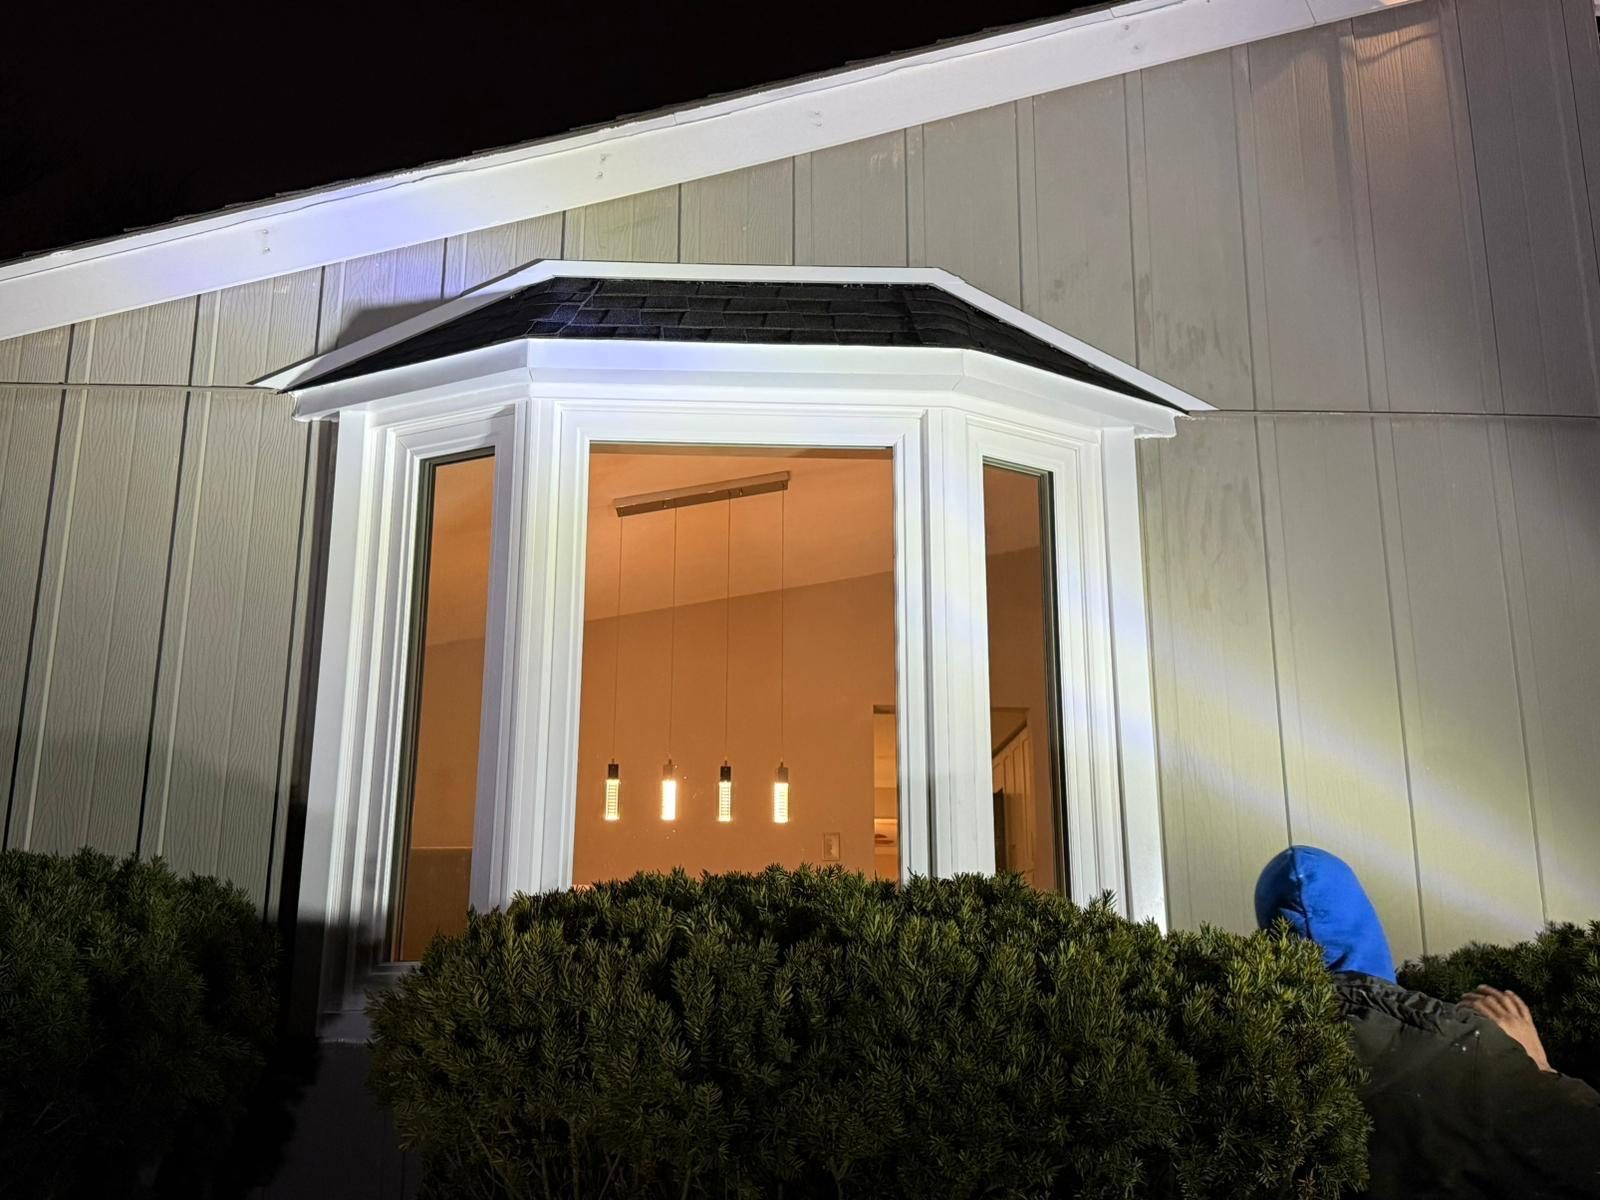
Homeowners combining window replacement with door replacement Tri State Area services or siding renovation Tri State Area work should prepare for an extended project timeline and more extensive exterior access needs. Coordinating multiple trades requires careful scheduling and typically more comprehensive home preparation.
When window door siding installation Tri State Area work happens simultaneously, expect scaffolding, larger equipment, and work crews present for several days. The same interior preparation principles apply, but exterior staging areas need significantly more space for materials and equipment.
Working with Your Contractor for Smooth Installation
Clear communication with your contractor before installation day prevents most common issues. Discuss any concerns about specific rooms, valuable items that cannot be moved, or access challenges at your property. Experienced contractors can adapt their process to work around obstacles when they know about them in advance.
Confirm insurance coverage for both the contractor’s crew and your property before work begins. Licensed and insured contractors carry liability coverage and workers’ compensation insurance, protecting you from responsibility if accidents occur during installation. Request proof of current insurance certificates and verify coverage with the insurance company if you have any concerns.
Weather Contingency Planning
Pennsylvania weather can be unpredictable, particularly during spring and fall installation seasons. Discuss weather contingency plans with your contractor during the initial consultation. Professional installers monitor forecasts closely and will reschedule if severe weather threatens, but light rain or cold temperatures do not always prevent installation.
Modern installation techniques allow window replacement to proceed in most conditions, with temporary weather protection used during the transition from old to new units. However, your contractor may recommend rescheduling if high winds, heavy rain, or extreme temperatures are forecast for installation day.
Frequently Asked Questions
How long should I expect installers to be at my home?
Most residential window replacement projects with eight to twelve windows take six to ten hours for a professional crew to complete. Complex installations with custom sizes, structural repairs, or challenging access points may extend into a second day. Your contractor will provide a specific timeline estimate during the initial consultation based on your home’s unique characteristics and the scope of work.
Can I stay home during window installation?
Yes, most homeowners remain home during window installation. You do not need to leave, but you should expect noise, temporary disruptions to room access, and open window openings throughout the day. Many homeowners choose to work from a home office in a distant room or run errands during the loudest phases of installation. Coordinate with your contractor about the best times to be present for any decisions or walk-throughs.
What happens if installers discover rot or structural damage?
Professional installers inspect the rough opening of each window as they remove the old unit. If they discover wood rot, water damage, or structural issues that were not visible during the initial estimate, they will stop work and consult with you before proceeding. Minor repairs can often be completed the same day with additional materials and time. Extensive structural damage may require rescheduling installation until framing repairs are completed by a specialist.
Should I tip the installation crew?
Tipping is not expected or required for professional window installation crews. However, many homeowners choose to provide cold drinks and snacks, particularly on hot summer days or during long projects. If you feel the crew provided exceptional service, a tip divided among the workers is a thoughtful gesture. Alternatively, a positive online review or referral to friends and neighbors is highly valued by contractors and helps their business grow.
How soon can I use my new windows after installation?
New windows are fully functional immediately after installation. You can open, close, and lock them as soon as the installation crew completes final adjustments and testing. However, exterior caulk and sealant need 24 to 48 hours to cure fully. Avoid cleaning windows or removing protective film for at least two days after installation to allow all materials to set properly and ensure weather-tight seals.