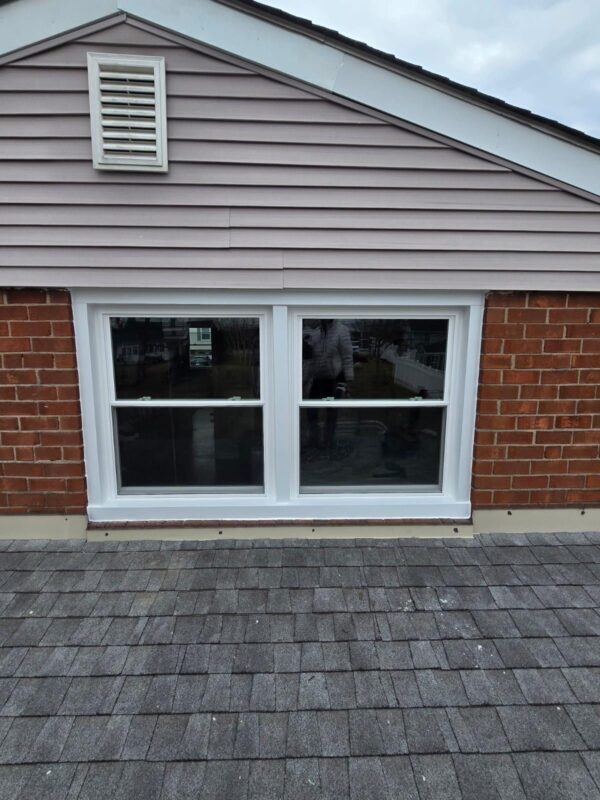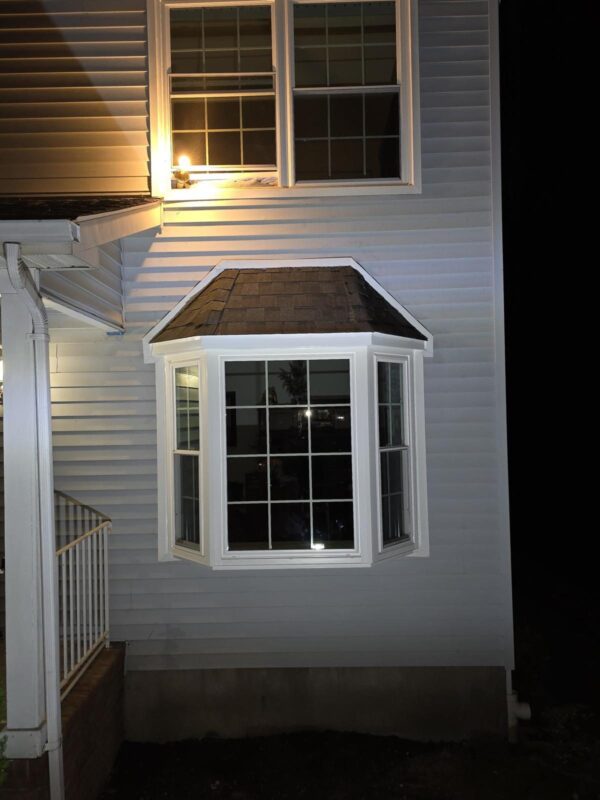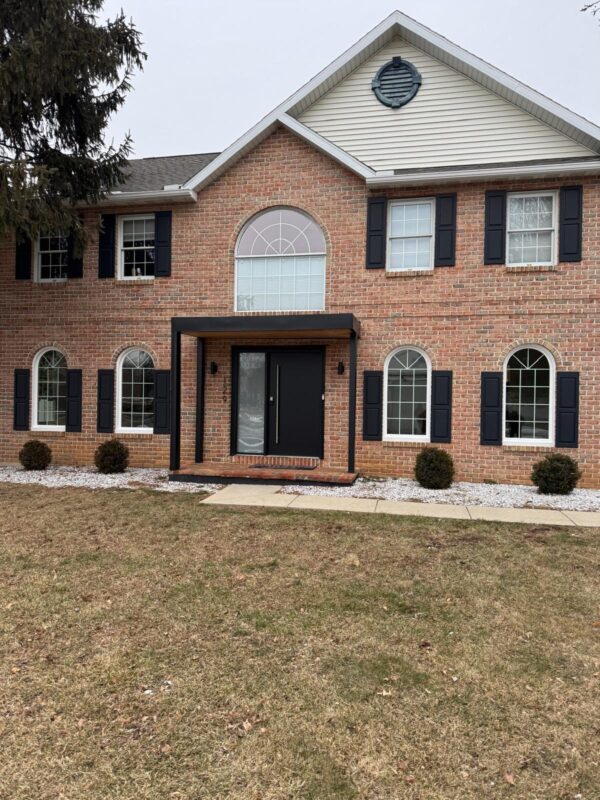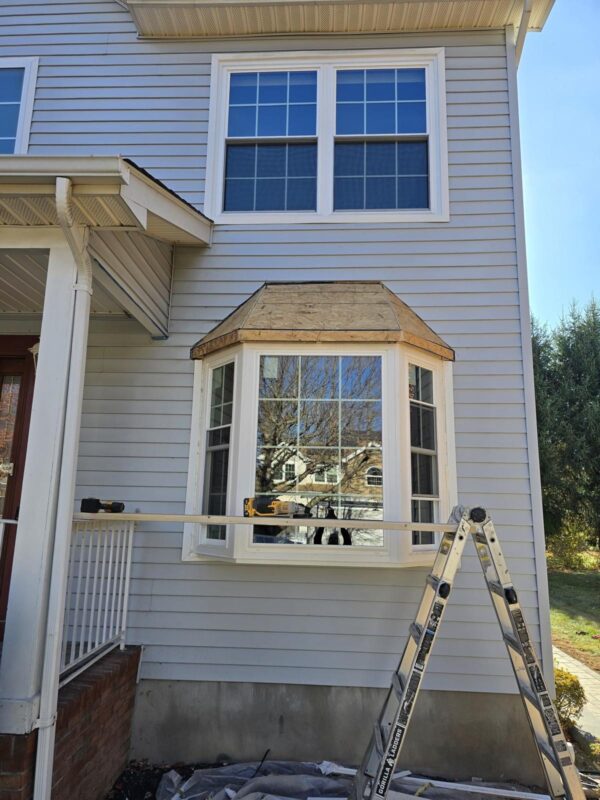
When your window replacement Tri State Area project reaches installation day, knowing what happens hour by hour reduces stress and keeps the process on track. Most Pennsylvania homeowners want a clear picture of crew arrival, how long each opening takes, and when they can return to normal routines.
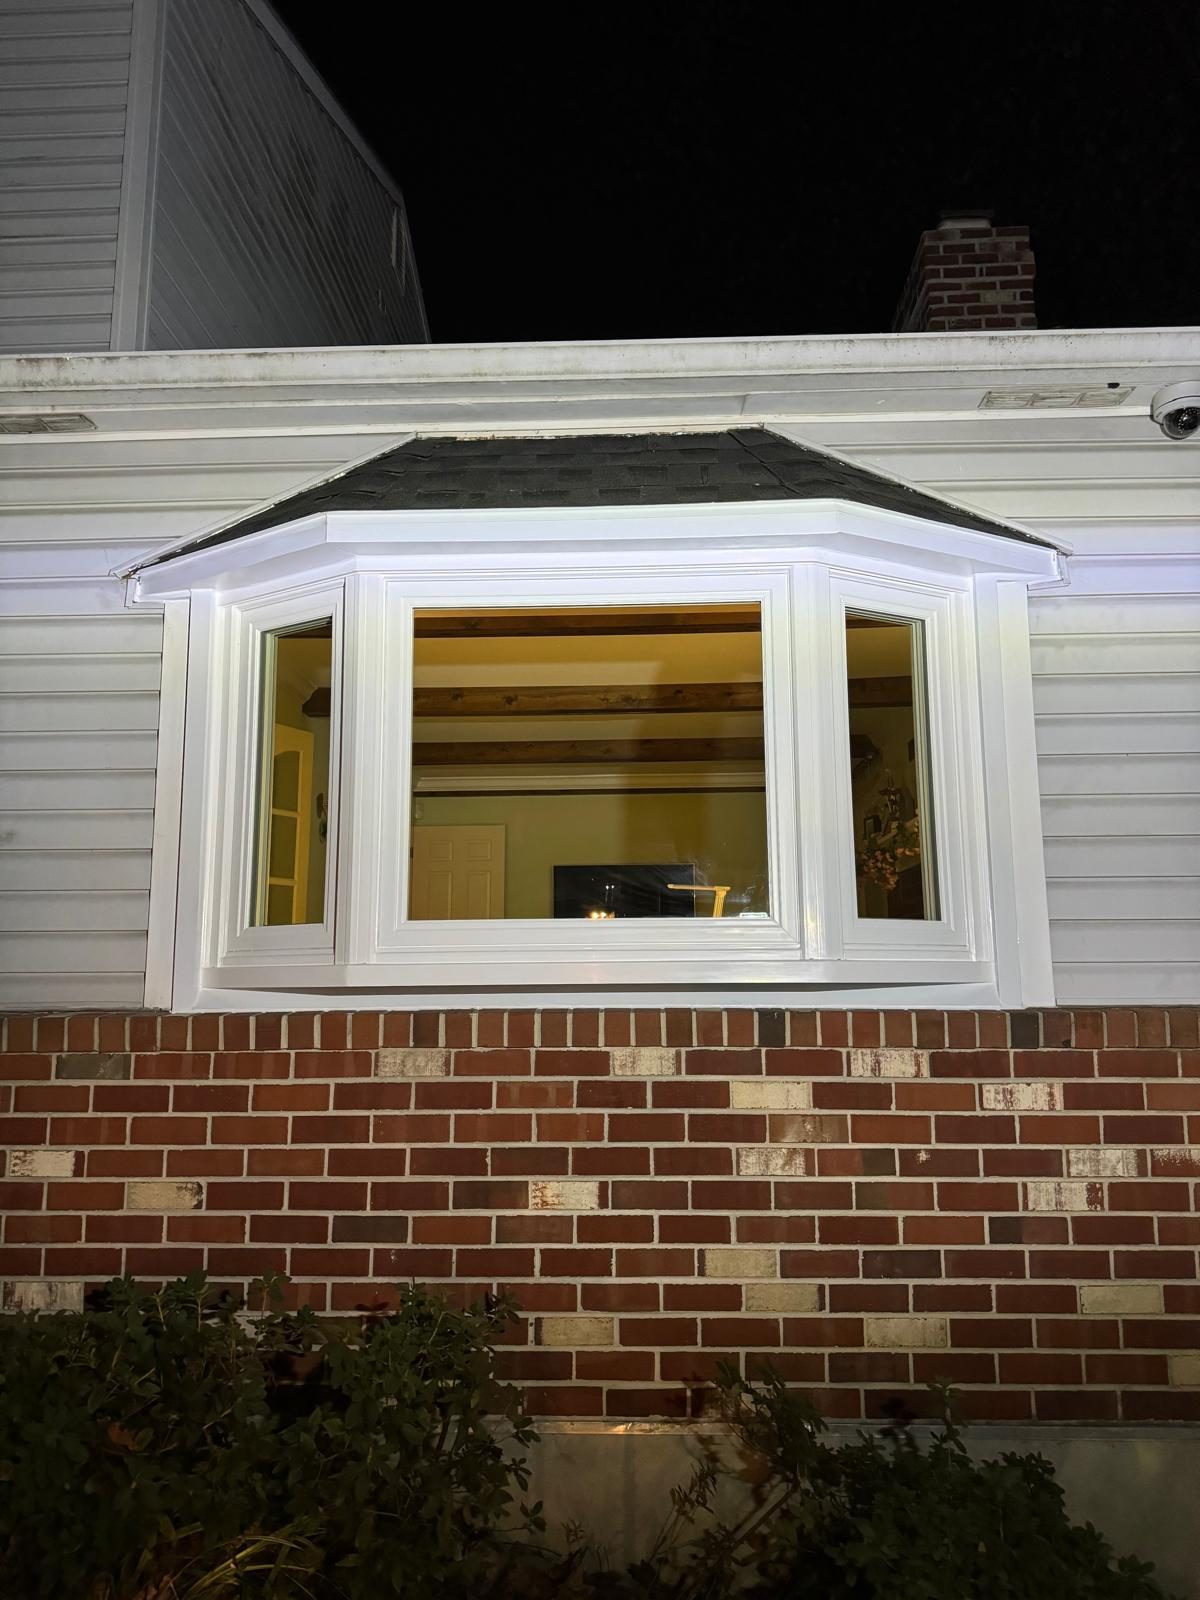
This guide walks through every phase of installation day, from morning prep to final walkthrough, with realistic timing benchmarks for single family homes across Bucks County, Mercer County, and the greater Philadelphia suburbs.
Morning Arrival and Site Setup (30 to 45 Minutes)
Professional crews typically arrive between 8:00 AM and 9:00 AM, depending on drive distance and permit pickup requirements. The first half hour covers protective measures and staging.
Protecting Your Interior and Landscaping
Installers lay drop cloths along paths from entry to each window location, protecting hardwood floors and carpet. Exterior landscaping near window wells receives plywood sheets or tarps to shield shrubs and flower beds from debris and ladder placement.
- Interior furniture: Move small tables, lamps, and decor at least three feet from each window. Leave heavy furniture in place; crews work around built-ins and large pieces.
- Window treatments: Remove curtains, blinds, and valances before arrival. Tension rods and hardware can interfere with trim removal.
- Wall art: Take down framed photos and mirrors within two feet of windows to prevent vibration damage during demolition.
- Power access: Clear paths to outlets. Crews need 15-amp circuits for reciprocating saws, drills, and pneumatic tools.
Staging involves unloading new window units from the truck and positioning them near corresponding openings. Each unit is inspected for shipping damage, correct size, and glass integrity before unwrapping.
Tool Setup and Safety Briefing
Lead installers review the project scope with homeowners, confirming which openings are scheduled for the day and noting any last minute access concerns. They identify breaker panel location, discuss pet containment, and establish a communication point person.
Homeowner tip: Secure pets in a separate room or crate away from work zones. Doors open frequently during installation, creating escape risk. HVAC systems may stay on, but open windows temporarily affect temperature control.
Demolition Phase: Removing Existing Windows (20 to 40 Minutes per Opening)
Removal speed depends on window age, installation method, and surrounding trim condition. Vinyl replacement windows in brick molding typically come out faster than original wood units nailed through exterior casing.
Interior Trim Removal
Installers carefully pry interior casing and sill apron using flat bars, preserving trim pieces when possible for Colonial or Victorian homes with custom millwork. Standard ranch trim often gets replaced with new stock during finish work.
For homes built before 1978, contractors follow EPA lead-safe practices, containing dust with plastic sheeting and HEPA vacuums. This adds 10 to 15 minutes per opening but keeps particulate out of HVAC systems.
Window Unit Extraction
Crews cut through sealant beads with utility knives, then remove interior stops or vinyl fins securing the sash. Double hung units often lift out once balance systems (springs or weights) are disconnected. Casement and awning windows require hinge pin removal.
Exterior brick molding or nailing fins are pried loose, and the entire jamb assembly slides out of the rough opening. Installers inspect framing for rot, water stains, or insect damage at this stage.
Wood rot in sills or jack studs adds 30 to 60 minutes per opening for sistering new lumber. Severe structural issues may pause installation for same day framing repairs or a follow up visit if extensive lumber replacement is needed.
Rough Opening Prep and Flashing (15 to 25 Minutes per Opening)
Proper flashing application prevents water intrusion behind siding and is non-negotiable for long term performance. This step takes longer on first-time replacement projects compared to retrofit installations.
Framing Adjustments and Insulation
Openings are squared and leveled using shims. Out-of-square conditions beyond one quarter inch require adjusting jack studs or shimming headers. Installers remove old fiberglass batts and spray low-expansion foam around the perimeter, filling gaps without bowing the jamb.
Pennsylvania’s freeze-thaw cycles make air sealing critical. Foam application must cure for 10 minutes before trimming excess, adding to per-window timing.
Applying Sill Pan and Side Flashing
A flexible sill pan or peel-and-stick membrane lines the bottom of the opening, extending up the sides at least three inches. Side flashing overlaps the sill pan in a shingle pattern, directing water outward.
Head flashing goes in after the window unit is set, integrated with existing siding renovation Tri State Area or housewrap. Self-adhering flashing tape seals the jamb-to-sheathing junction, a step that significantly extends window lifespan in wet climates.
New Window Installation and Securing (25 to 35 Minutes per Opening)
Setting the replacement unit is the fastest phase when prep work is complete. Installers work methodically to ensure plumb, level, and square alignment before fastening.
Positioning and Shimming
The new window is lifted into the opening from the exterior, resting on sill shims. Crews check level across the head jamb and sill, adjusting corner shims until the bubble centers. Side jambs are plumbed with a four-foot level, shimmed at hinge points and latch points to prevent operational sag.
Over-shimming causes the frame to bow inward, binding the sash. Experienced installers use 1/8-inch adjustments, testing sash operation after each shim placement.
Fastening Methods by Window Type
Vinyl replacement windows with nailing fins receive galvanized roofing nails or screws through the fin into the jack stud, spaced 8 to 12 inches apart. Flush-mount units without fins are secured through the side jambs into framing, with screws placed behind sash tracks to hide fastener heads.
Wood and fiberglass windows use longer structural screws due to heavier sash weight. Installers avoid over-tightening, which compresses weatherstripping and distorts the frame.
Operational Testing
Before sealing, crews open and close each sash through its full range of motion. Double hung windows should glide smoothly without binding. Casement cranks should require minimal effort to latch. Any resistance indicates a shimming or fastening issue that must be corrected before moving to the next opening.
Sealing, Insulating, and Exterior Finish (20 to 30 Minutes per Opening)
Weatherproofing the perimeter gap between window and framing protects against air leakage and water infiltration. This step varies based on siding type and aesthetic preferences.
Interior and Exterior Foam Application
Low-expansion foam fills voids around the frame, applied in multiple thin passes to avoid over-expansion. Foam should contact both the window jamb and rough framing without pushing the jamb out of alignment.
Excess foam is trimmed flush after curing, leaving a consistent backer surface for interior trim. Gaps larger than one inch require foam backer rod before sealant application.
Exterior Caulking and Trim
A continuous bead of polyurethane or silicone sealant runs along the exterior perimeter where the window meets siding or brick molding. The bottom sill is left unsealed to allow weep holes to drain condensation.
Aluminum or vinyl exterior trim (brick molding, J-channel) is cut to size and fastened over the nailing fin, covering raw edges and integrating with surrounding exterior siding upgrade work. PVC trim receives a finish bead of paintable caulk along joints.
Interior Casing and Sill Replacement
New window stool and apron are cut and installed if original trim was damaged during removal. Paint-grade MDF or stain-grade pine matches existing millwork profiles in most Pennsylvania homes.
Casing is mitered at corners, nailed into the jamb edge and wall framing, then caulked along the wall joint. Nail holes are filled with spackling compound or wood filler, ready for paint touch-up.
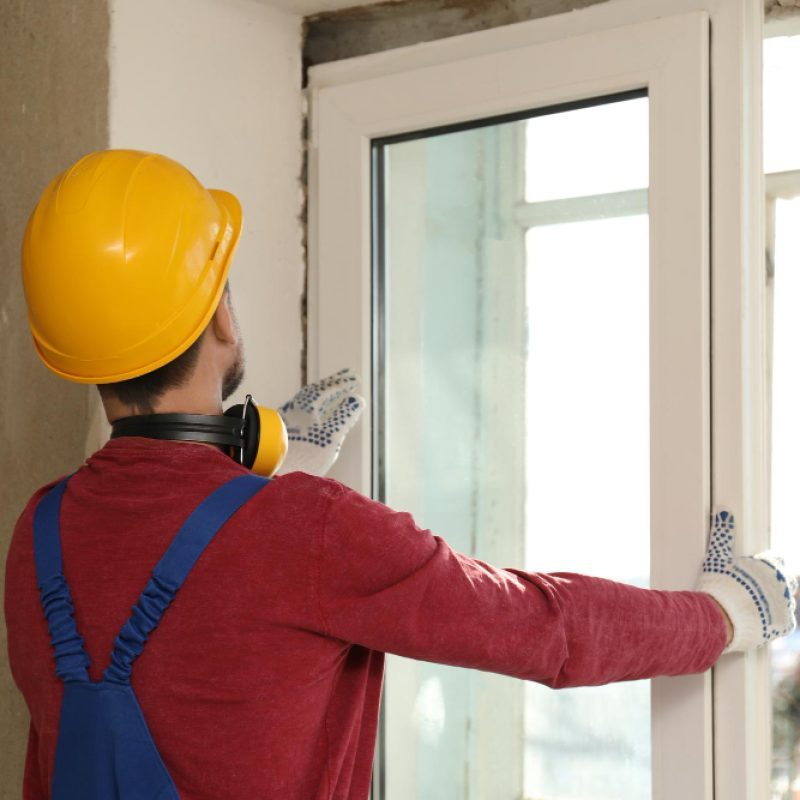
Final Walkthrough and Cleanup (30 to 45 Minutes)
Once all openings are complete, the lead installer conducts a room-by-room review with the homeowner. This is your opportunity to verify operation, appearance, and address any concerns before the crew leaves.
Checklist Items to Inspect
- Smooth operation: Open and close each sash. Locks should engage without forcing. Tilt-in sashes for cleaning should release easily.
- Seal integrity: Check for visible gaps around the perimeter. Run your hand along edges to feel for air drafts.
- Glass condition: Look for scratches, cracks, or debris between panes in insulated glass units. Minor scratches may be buffed; cracks require glass replacement.
- Trim alignment: Interior casing should sit flush against the wall without gaps. Mitered corners should align cleanly.
- Exterior finish: Confirm sealant coverage and that all fasteners are concealed or finished appropriately for siding type.
Documentation: Contractors provide warranty cards and care instructions for your specific window brand. File these with your home maintenance records. Many manufacturers require registration within 30 days for extended coverage.
Site Cleanup Process
Professional crews vacuum window sills and surrounding floors, removing sawdust and foam scraps. Exterior debris (old window units, trim pieces, packaging) is loaded into the truck for proper disposal.
Drop cloths and protective coverings are removed, and landscaping tarps are lifted carefully to avoid dumping debris onto plantings. A final walk around the home’s perimeter confirms no tools, fasteners, or materials were left behind.
Total Installation Duration by Home Size
Realistic timing for complete residential window installation projects in Pennsylvania, from arrival to cleanup:
| Number of Windows | Typical Duration | Crew Size |
|---|---|---|
| 4 to 6 windows | 4 to 5 hours | 2 installers |
| 8 to 10 windows | 6 to 7 hours | 2 to 3 installers |
| 12 to 15 windows | Full day (8 hours) | 3 installers |
| 18+ windows | 1.5 to 2 days | 3 to 4 installers |
Complications that extend timelines include rotted framing requiring structural repair, custom-size openings, second-story access needing scaffolding, and severe weather causing delays. Multi-day projects typically break at logical stopping points, with openings sealed overnight to maintain security and weatherproofing.
Preparing Your Home Before Installation Day
Homeowners can accelerate the process and prevent disruptions by completing these tasks 24 hours in advance:
- Clear window zones: Remove all furniture, plants, and decor within four feet of each window. This gives crews unobstructed access and protects your belongings from dust.
- Protect valuables: Cover electronics and bookshelves near work areas with plastic sheeting. Vibration from demolition can shift items on open shelves.
- Create parking access: Reserve driveway space or street parking close to your home. Window delivery trucks need proximity for unloading without carrying units long distances.
- Arrange pet care: If you cannot secure pets in a separate area, consider boarding or a friend’s home for the day. Repeated door openings and power tool noise stress animals.
- Plan for occupancy: Most homeowners remain on-site to answer questions and approve work. If you must leave, designate an adult with decision-making authority.
Confirming these details during the pre-installation call with your contractor reduces surprises and keeps the schedule on track.
Post-Installation Care and Break-In Period
New windows require a brief adjustment period as seals compress and mechanical parts settle. During the first week, avoid forcing locks or sashes if they feel slightly stiff. Weatherstripping and foam gaskets need time to conform to the frame.
First 48 Hours
Interior paint and caulk need 24 to 48 hours to cure fully before cleaning. Avoid wiping trim or sills with wet cloths during this period. Exterior sealant cures faster but benefits from dry weather; rain within 12 hours of application can compromise adhesion.
Operate each window daily during the first week to ensure smooth movement. Report any binding, difficulty locking, or unusual drafts to your contractor within the warranty window.
Seasonal Adjustments
Pennsylvania’s temperature swings cause slight expansion and contraction in vinyl and fiberglass frames. A window that operates easily in October may feel tighter in July’s heat or January’s cold. This is normal; frames return to optimal fit as temperatures stabilize.
If seasonal binding persists, contact your installer for a service visit. Minor adjustments to shims or fasteners typically resolve the issue without major rework.
When Installation Takes Longer Than Expected
Unforeseen conditions occasionally extend timelines beyond initial estimates. Transparency from your contractor about delays and solutions is the hallmark of professional service.
Common Delay Causes
Hidden framing damage: Wood rot or insect damage not visible during initial inspection requires lumber replacement before new windows can be set. This adds 1 to 3 hours per affected opening.
Out-of-square openings: Homes settling over decades develop framing irregularities. Correcting severe out-of-square conditions (more than half an inch) requires shimming, cutting, or sistering studs.
Weather interruptions: Rain, high wind, or extreme cold halts exterior work to protect open cavities and ensure proper sealant curing. Crews seal openings temporarily and return when conditions improve.
Incorrect window delivery: Wrong sizes or configurations require reordering, delaying installation by one to three weeks depending on manufacturer lead times.
Reputable contractors like Santos Replacement Langhorne communicate these issues immediately, providing revised timelines and solutions before proceeding.
Coordinating Window Replacement with Other Exterior Projects
Homeowners planning comprehensive exterior updates benefit from sequencing window door siding installation Tri State Area work to minimize redundant staging and finishing steps.
Windows Before Siding
Installing windows before new siding allows proper flashing integration. Siding is trimmed to fit snugly around window frames, and J-channel or trim receives factory edges rather than field cuts.
This sequence prevents the need to remove new siding to access window flanges, saving labor hours and material waste.
Simultaneous Door and Window Projects
Replacing entry door installation PA NJ DE openings during the same visit as windows consolidates permit inspections, reduces crew mobilization, and often qualifies for package pricing.
Both trades require similar prep (flashing, sealing, trim work), so staging materials and equipment once covers all openings efficiently.
Frequently Asked Questions
How long does it take to replace one window?
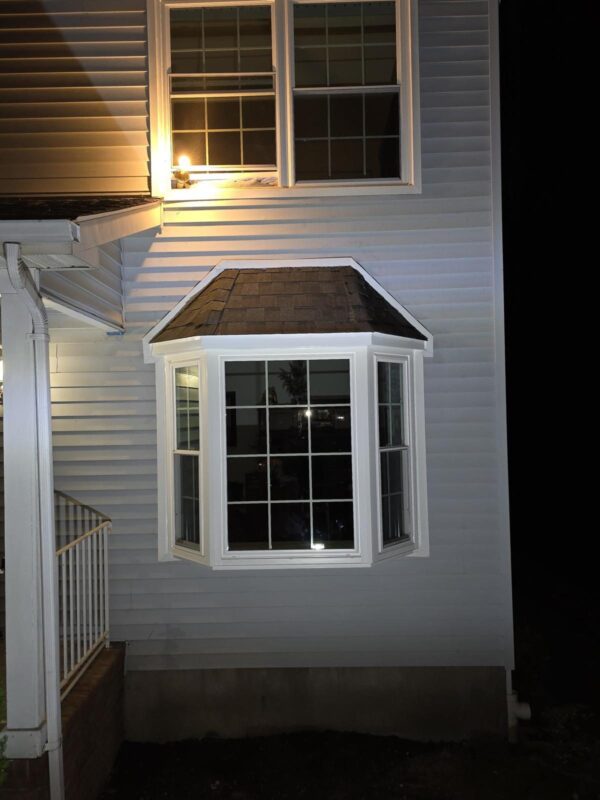
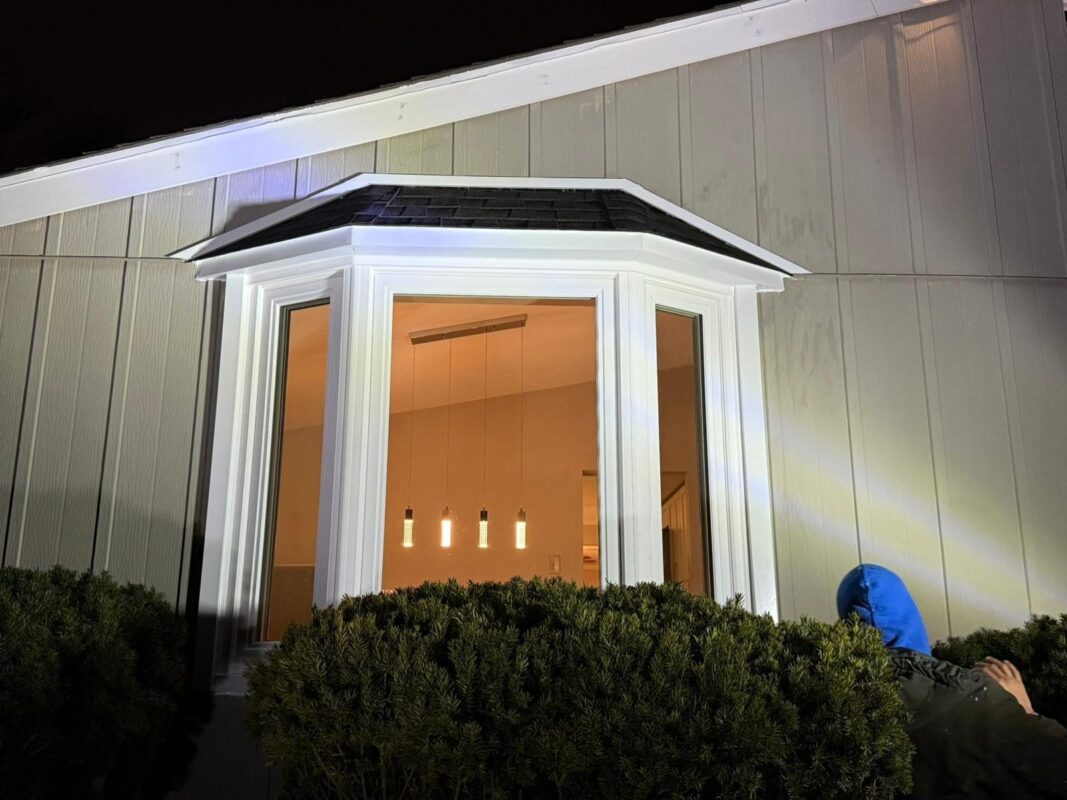
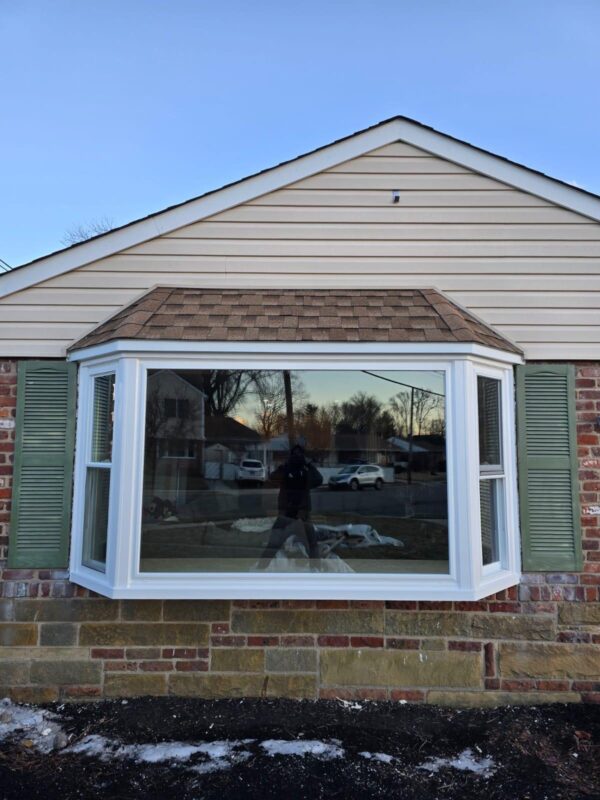
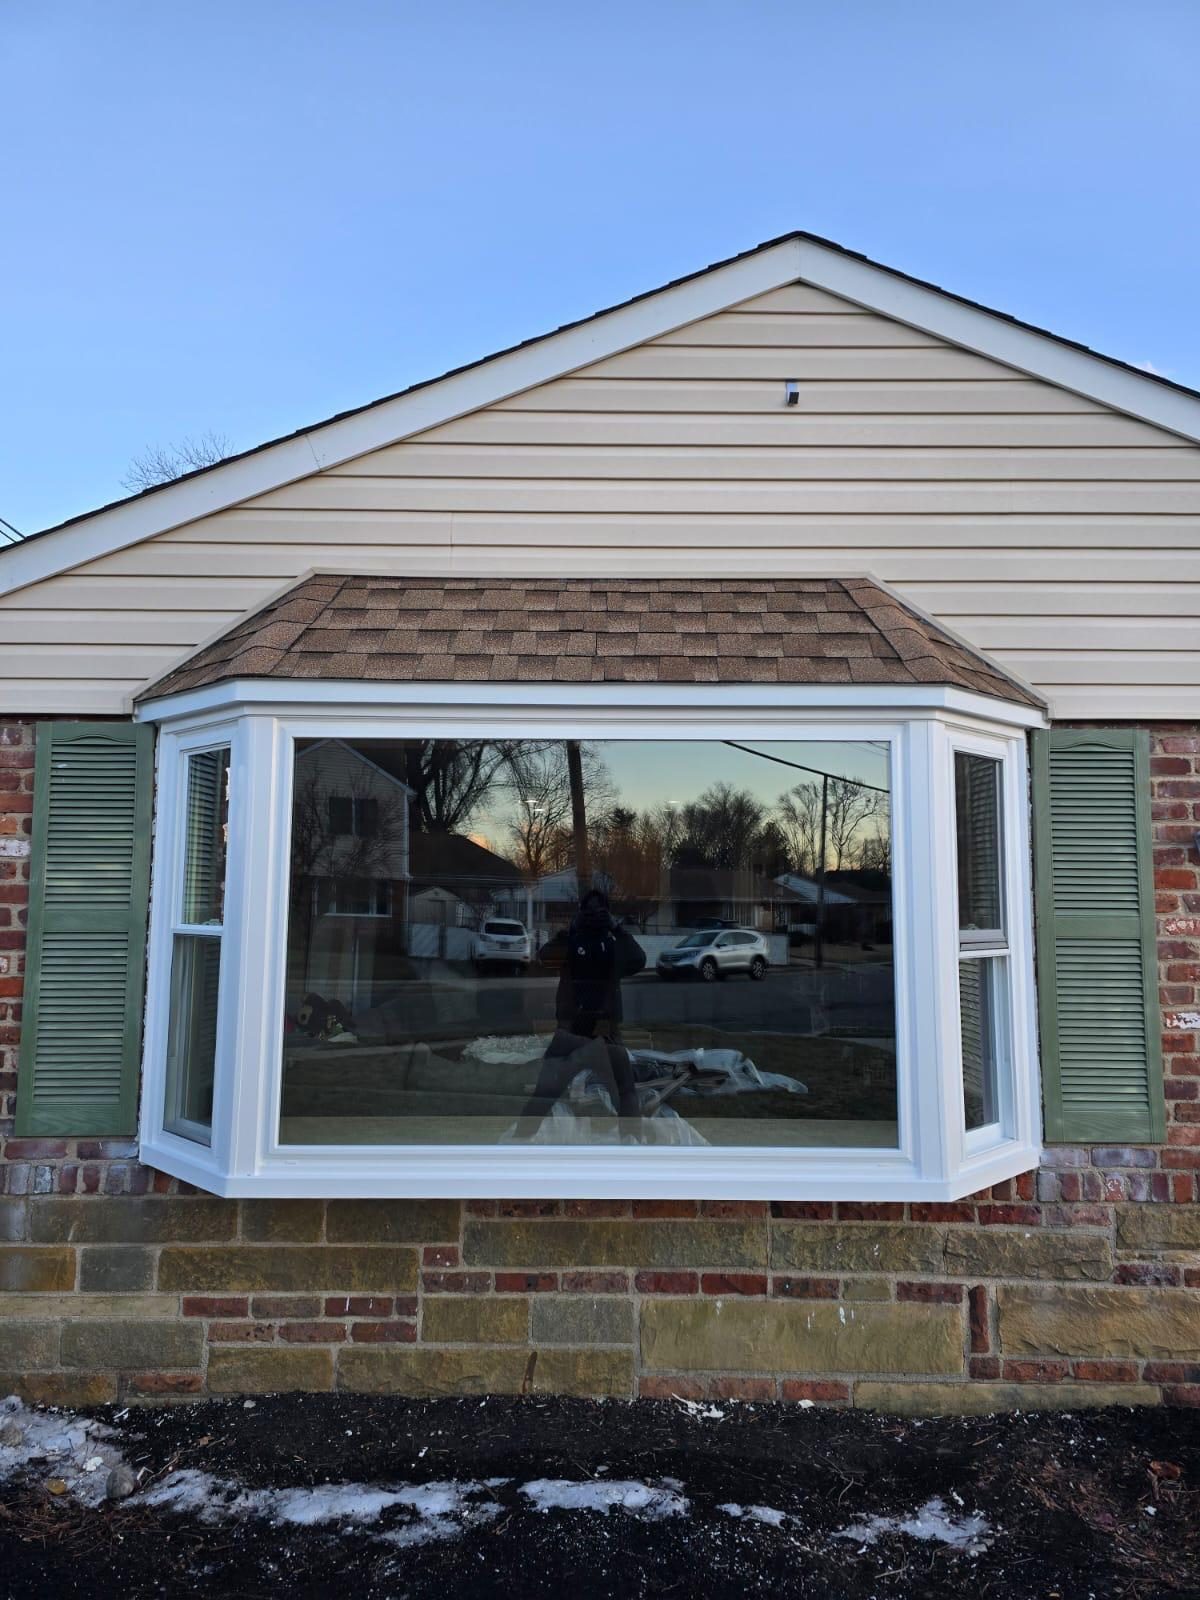
A single window replacement typically takes 60 to 90 minutes from demolition through final sealing when no framing repairs are needed. This includes removing the old unit, prepping the opening, installing and leveling the new window, insulating, and applying interior and exterior trim. First-floor openings move faster than second-story installations requiring ladder setup. Complex configurations like bay or bow windows take 2 to 3 hours per unit due to multiple framing joints and angled trim work.
Do I need to leave my home during window installation?
Most Pennsylvania homeowners remain on-site during window installation to answer questions and approve work, but it is not required. The home stays weatherproof throughout the day; crews never leave openings exposed during breaks. Noise from power tools and periodic outdoor access make working from home challenging. If you plan to be away, designate an adult contact who can make decisions if unforeseen conditions arise, such as framing repairs or product clarifications.
What happens if it rains on installation day?
Light rain typically does not stop interior demolition or prep work, but exterior sealing and flashing must wait for dry conditions. Crews tarp open window cavities if heavy rain begins mid-project, securing the home until weather clears. Persistent rain may push exterior finish work to the following day. Polyurethane sealants and flashing adhesives require dry surfaces to bond properly; applying them in wet conditions voids material warranties. Reputable contractors monitor forecasts and reschedule proactively when all-day rain is predicted.
Can window installers work in winter in Pennsylvania?
Window replacement proceeds year-round in Pennsylvania when temperatures stay above 20°F. Low-expansion foam and most sealants cure effectively down to this threshold. Extremely cold days below 15°F make materials brittle and adhesives less effective, prompting rescheduling. Snow and ice require clearing around window wells and safe ladder footing before work begins. Winter installations benefit from reduced contractor backlog and faster scheduling, though homeowners should expect temporary indoor temperature drops while openings are exposed. Plastic sheeting isolates work rooms from the rest of the home to minimize heating loss.
How soon can I clean new windows after installation?
Wait 48 hours after installation before cleaning window glass or wiping interior trim. This allows caulk, paint, and foam to cure fully without smearing. Use a soft microfiber cloth and manufacturer-recommended glass cleaner; avoid ammonia-based products on Low-E coatings, as they can degrade the reflective layer over time. For vinyl frames, mild soap and water remove construction dust without scratching. Pressure washing exterior trim is safe after one week, but avoid directing high-pressure streams at sealant joints or weatherstripping, which can dislodge fresh caulk.