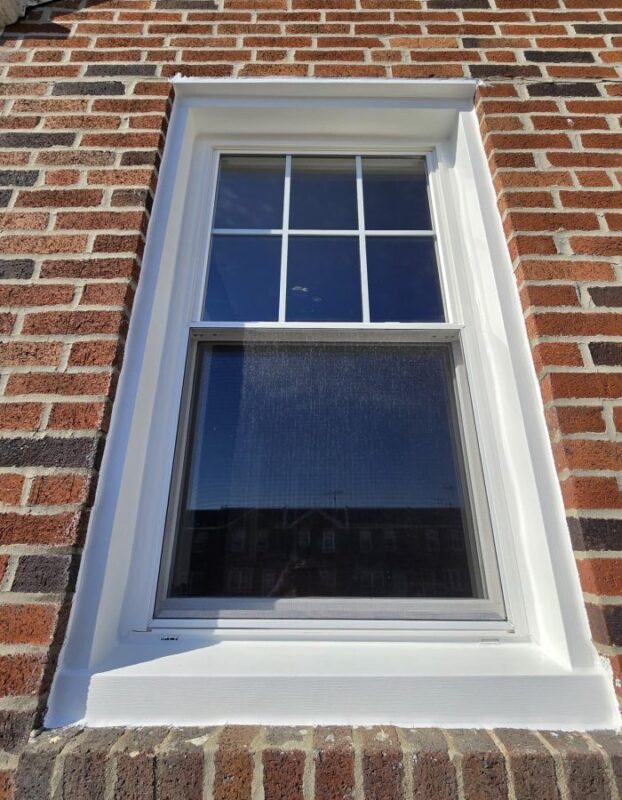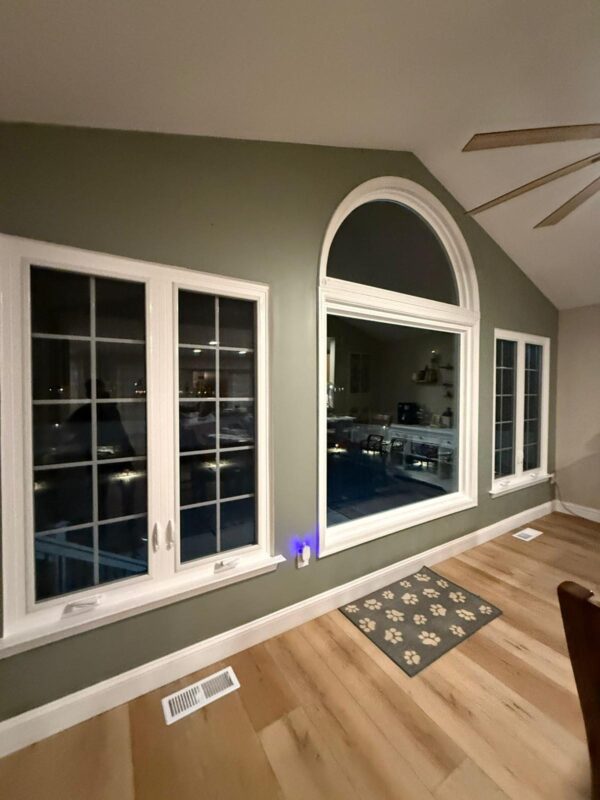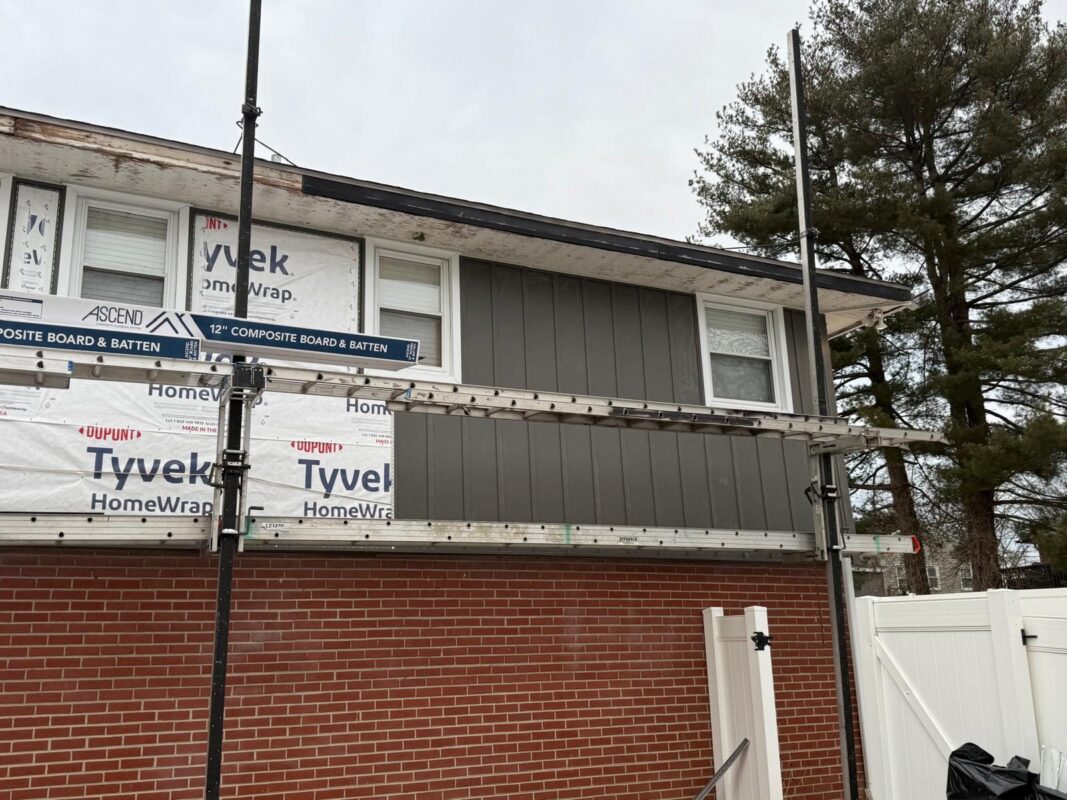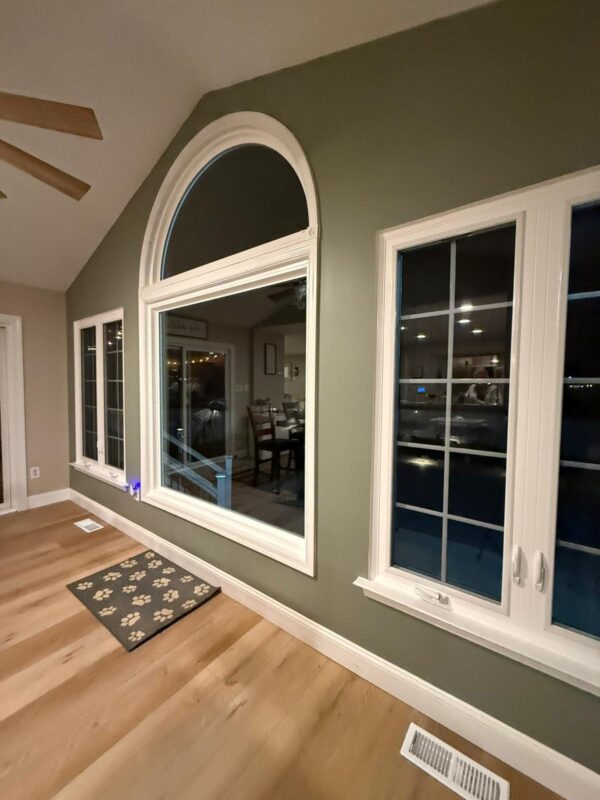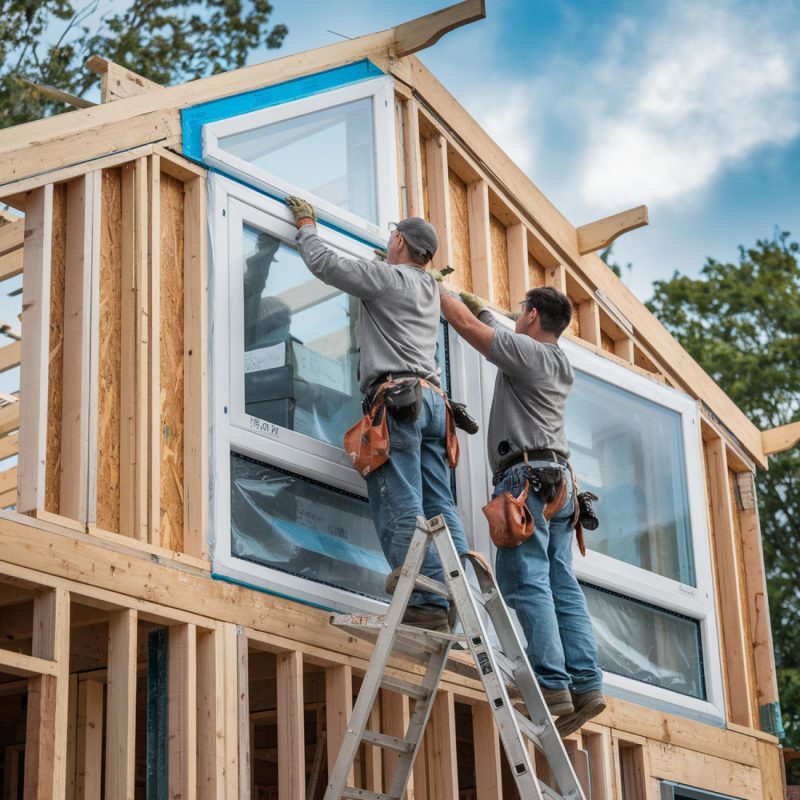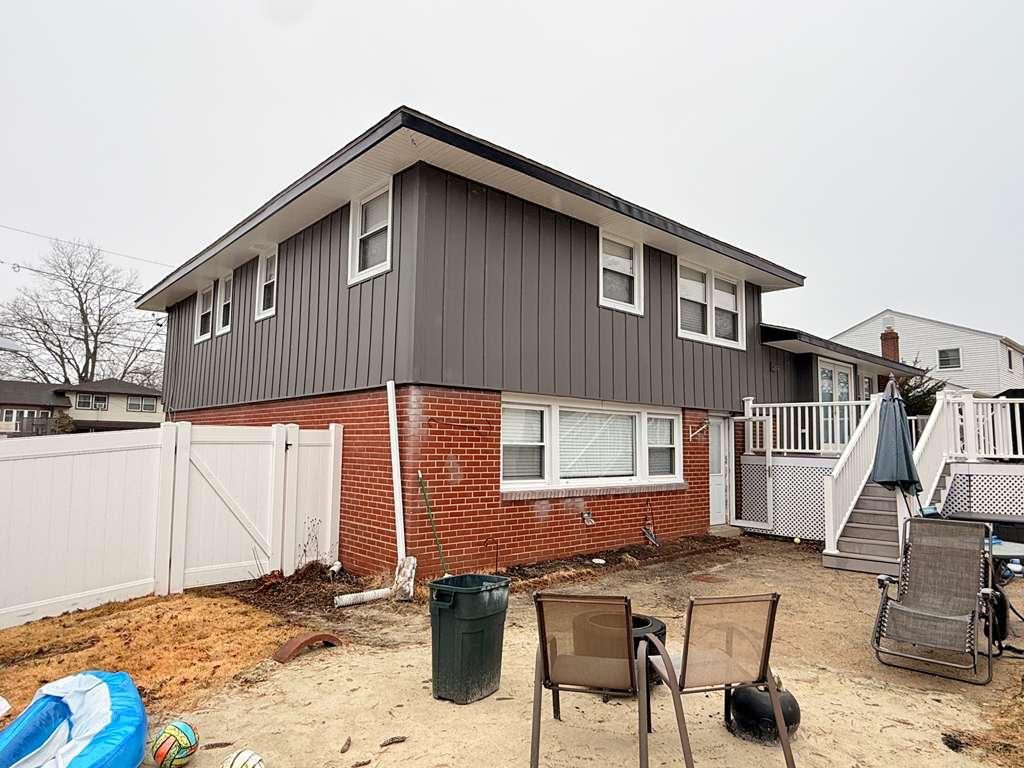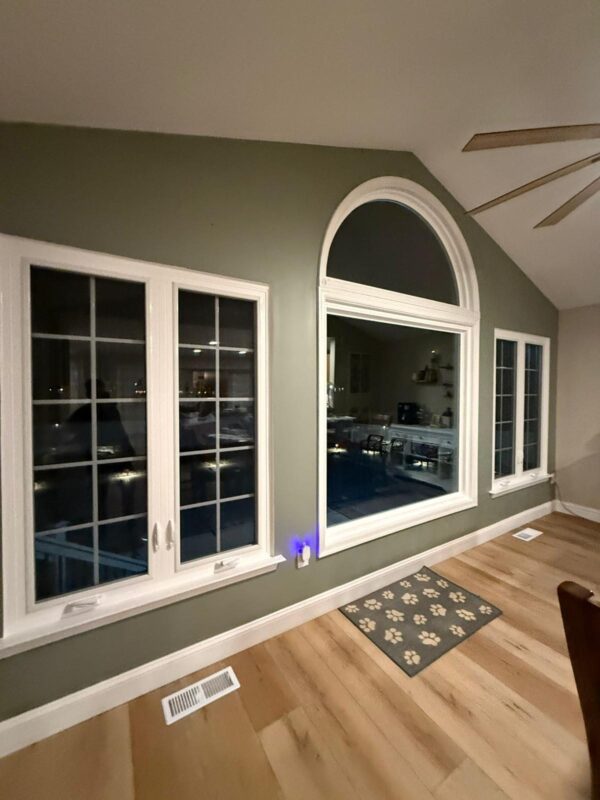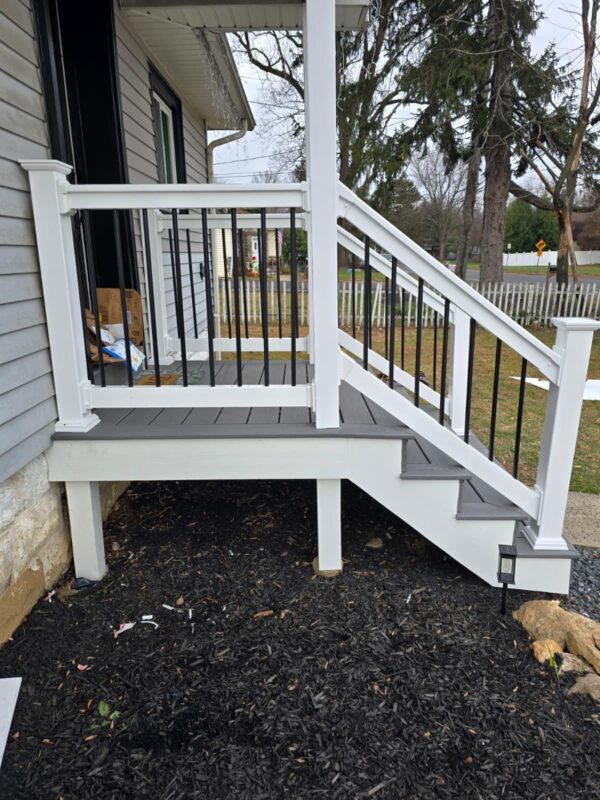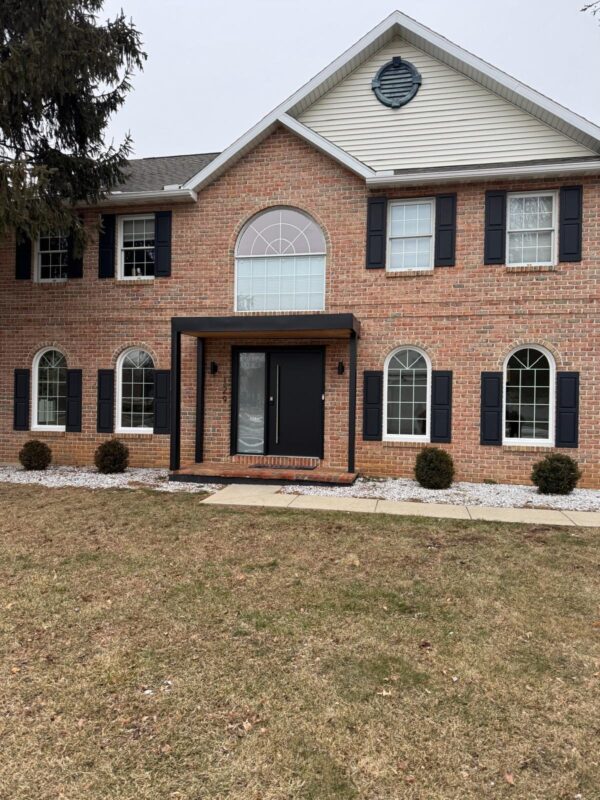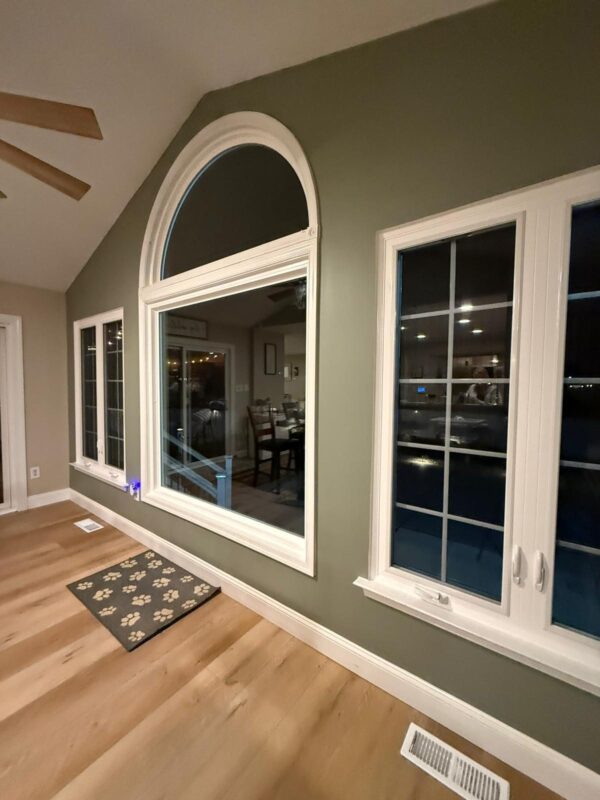
Homeowners across Bucks County, Philadelphia suburbs, and southern New Jersey often approach exterior renovations one component at a time: replace worn windows one season, update the front door the next, then address siding a few years later. While this staged approach spreads costs over time, it rarely delivers the integrated design, pricing advantage, and weather protection that come from a coordinated whole home exterior makeover.
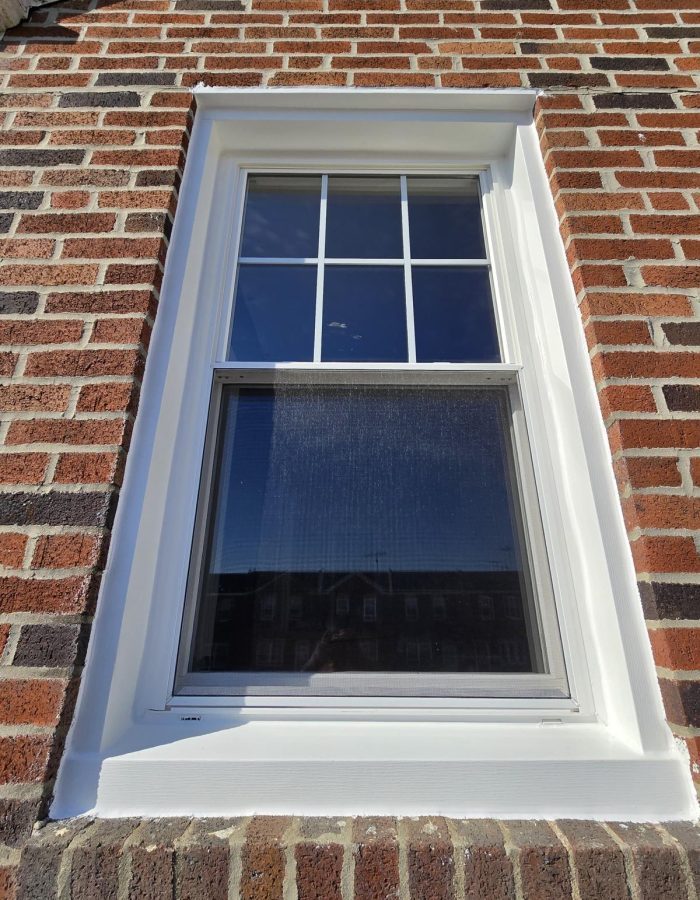
When you combine window replacement, door replacement, and siding renovation into a single managed project, each trade reinforces the others. Flashing details integrate properly, color palettes coordinate from the start, and weather exposure windows shrink dramatically. A single project manager oversees sequencing, material deliveries, and inspection schedules without the coordination gaps that arise when three separate contractors work in isolation.
This guide walks through the planning, sequencing, and contractor selection process for a successful multi-service exterior renovation. For a broader view of all exterior improvement options, see our complete guide to exterior remodeling in the Tri State Area.
Why Coordinate Multiple Exterior Services
The decision to bundle window, door, and siding work stems from both practical and financial considerations. Each installation type shares common prep steps, scaffolding requirements, and inspection milestones. When a contractor schedules all three trades together, mobilization costs spread across the entire project rather than repeating for each visit.
Integrated Flashing and Weather Barriers
Modern building science recognizes that windows, doors, and siding form a continuous drainage plane. Water that penetrates the siding layer must drain behind windows and doors without entering wall cavities. When these components install separately, each contractor applies flashing to existing conditions, sometimes compromising the original installation or creating reverse laps that trap water.
A coordinated approach allows the crew to install flexible flashing tape and self-adhered membranes in the correct sequence: window rough opening first, door threshold next, then housewrap and siding over both. This layered approach channels water downward and outward at every transition, reducing the callback rate for moisture intrusion by 60 to 75 percent compared to sequential installations.
Color and Material Cohesion
Homeowners planning separate projects often discover that the window trim color chosen two years ago no longer coordinates with current siding options, or that door hardware finishes have shifted from oil-rubbed bronze to matte black. By selecting all three components in a single design session, you ensure that siding color, window grid pattern, door style, and trim details work together rather than compete.
This cohesion matters for both curb appeal and resale value. Appraisers and buyers respond more favorably to homes with unified exterior design language than to properties showing patchwork upgrades across multiple eras and color palettes.
Planning the Project Scope
A successful whole home exterior makeover begins with a detailed scope document that identifies every window unit, door opening, siding elevation, and trim detail. This planning phase typically takes two to three weeks and involves site measurements, material research, and budget refinement.
Inventory Existing Conditions
Walk the entire exterior perimeter and document each opening. Note window sizes, door configurations, siding condition, and trim details. Take photos of problem areas: peeling paint, rot around window sills, siding cracks, threshold gaps. These observations form the baseline for scope discussions with contractors.
In Bucks County and Philadelphia suburbs, many homes built between 1960 and 1990 have original aluminum windows, hollow-core steel doors, and vinyl siding installed over wood clapboard. Understanding the existing assembly helps contractors plan removal sequences and identify structural repairs needed before new materials install.
Prioritize Performance Goals
Clarify what you want the renovation to achieve beyond appearance. Common performance goals include:
- Energy efficiency: Reduce heating and cooling costs by 20 to 35 percent through low-E glass, insulated door cores, and continuous exterior insulation under new siding.
- Weather resistance: Eliminate drafts, water intrusion, and ice dam formation with proper flashing, air sealing, and ventilation details.
- Maintenance reduction: Switch from wood trim and siding to vinyl or fiber cement options that require no painting for 15 to 25 years.
- Security upgrade: Install multi-point locking doors, laminated glass windows, and reinforced thresholds in high-visibility entry locations.
Ranking these goals helps contractors recommend specific product grades and installation methods that align with your priorities rather than proposing generic material packages.
Set Realistic Timeline Expectations
Coordinated exterior projects involve more moving parts than single-trade work, which extends both planning and installation durations. Typical timeline for a 2,000 to 2,500 square foot single-family home:
| Phase | Duration | Key Activities |
|---|---|---|
| Design and Planning | 2 to 3 weeks | Site measurement, material selection, permit applications |
| Material Procurement | 3 to 6 weeks | Window manufacturing, door fabrication, siding ordering |
| Site Preparation | 1 to 2 days | Scaffolding setup, dumpster delivery, interior protection |
| Demolition | 2 to 3 days | Remove existing windows, doors, siding, trim |
| Structural Repairs | 1 to 3 days | Replace rotted framing, sister damaged studs, repair sheathing |
| Window Installation | 2 to 4 days | Set windows, flash openings, insulate gaps |
| Door Installation | 1 to 2 days | Hang doors, adjust thresholds, install hardware |
| Siding and Trim | 5 to 8 days | Install housewrap, siding, corner boards, fascia, soffit |
| Final Details | 1 day | Caulk joints, touch up paint, clean up, inspection |
Weather delays, unexpected structural issues, and material back-orders can extend these durations by 15 to 30 percent. Contractors experienced in multi-service projects build buffer time into schedules to accommodate these variables.
Selecting a Qualified Contractor
Not every exterior contractor has the trade depth, insurance coverage, or project management systems needed to coordinate a whole home makeover efficiently. The selection process should verify both technical capability and organizational maturity.
Licensing and Insurance Requirements
Tri State Area homeowners must confirm that contractors hold active home improvement contractor licenses in each state where the property sits. Pennsylvania requires a PA HIC license for projects over certain thresholds. New Jersey mandates an NJ HIC license for most residential remodeling work. Delaware contractors need a DE HIC registration for exterior renovations.
Beyond licensing, verify that the contractor carries general liability insurance with minimum coverage of one million dollars per occurrence and workers compensation insurance for all crew members. Request certificates of insurance and confirm policy dates directly with the insurance carrier rather than relying on photocopies that may be outdated.
Single Project Manager Advantage
Multi-trade projects benefit enormously from having one person accountable for all sequencing, quality control, and communication. When a contractor assigns separate project managers to windows, doors, and siding, coordination gaps emerge: window flashing waits for siding crew input, door threshold height conflicts with planned siding thickness, trim color decisions stall while managers consult.
A single project manager sees the entire scope from estimate through final inspection. This person schedules all trades, orders all materials on coordinated delivery dates, and resolves field conflicts in real time without multi-party conference calls. At Santos Replacement, the same project manager who provides the initial estimate remains the single point of contact through project completion, eliminating handoff confusion.
Portfolio Review and References
Ask to see completed projects that bundled the same service combination you’re planning. Review photos for integration quality: Are window trim and siding transitions clean? Do door colors coordinate with siding palettes? Are soffit and fascia details finished consistently around the entire structure?
Request contact information for three to five homeowners who completed similar multi-service projects within the past 18 months. During reference calls, ask specific questions about coordination: Did trades show up when promised? Did material deliveries arrive complete and on schedule? How did the contractor handle unexpected structural repairs or weather delays?
Material Selection Strategy
Choosing compatible products across three trades requires more planning than selecting components independently. Material decisions cascade: window frame color influences trim color, which affects siding color range, which constrains door finish options.
Start with Siding Color
Siding covers the largest exterior surface area, which makes it the dominant color element. Select siding color first, then choose window trim and door finishes that either coordinate (within the same color family) or contrast deliberately (dark trim on light siding, for example).
Popular combinations in Bucks County and Philadelphia suburbs include:
- Light gray vinyl siding with white window trim and black entry door
- Beige fiber cement siding with almond windows and dark bronze door
- Sage green siding with cream trim and natural wood-stain door
- Charcoal gray siding with white windows and red accent door
Bring siding samples to window and door showrooms rather than trying to match colors from memory or digital photos. Natural daylight reveals undertones and finish differences that showroom lighting obscures.
Energy Performance Compatibility
When performance goals include energy savings, coordinate insulation and air sealing details across all three trades. Specify low-E glass packages for windows, insulated cores for entry doors, and foam-backed or insulated vinyl siding. These upgrades work synergistically: windows reduce solar heat gain, doors eliminate threshold drafts, and insulated siding raises whole-wall R-value by 15 to 25 percent.
Review product specifications together rather than separately. A window with U-factor of 0.27 delivers marginal benefit if installed in a wall assembly with thermal bridging through studs and air leakage around the rough opening. The contractor should explain how flashing tape, backer rod, low-expansion foam, and siding installation method combine to support the window’s rated performance.
Warranty Coordination
Manufacturer warranties for windows, doors, and siding typically run 20 to 40 years for materials and 1 to 10 years for installation labor. When a single contractor installs all three, you maintain one relationship for warranty service rather than coordinating among three separate companies.
Clarify what triggers warranty coverage: defects in materials, installation errors, or both. Understand what voids coverage: improper maintenance, structural settling, or alterations by other contractors. Request warranty terms in writing before signing contracts, and file all warranty cards within 30 days of project completion.
Installation Sequencing
Proper trade sequencing prevents rework, protects partially completed work from weather, and maintains continuous drainage planes during multi-week installations.
Week One: Demolition and Rough Opening Prep
Crews begin by removing existing siding from window and door areas, then remove old windows and doors. This exposes the underlying sheathing and framing for inspection. Contractors identify and repair any rot, structural damage, or missing sheathing before proceeding.
Once openings are sound, crews install flexible flashing tape around window rough openings, lapping each piece over the one below to direct water downward. Door thresholds receive similar flashing treatment, with extra attention to sloped sill pans that prevent water from pooling under the door.
Week Two: Window and Door Installation
Windows install first because their exterior flanges must integrate with the housewrap and siding system. Crews set windows in openings, shim plumb and level, fasten through flanges into framing, then apply flashing tape over the top flange and up the sides. The bottom flange remains exposed to allow water drainage.
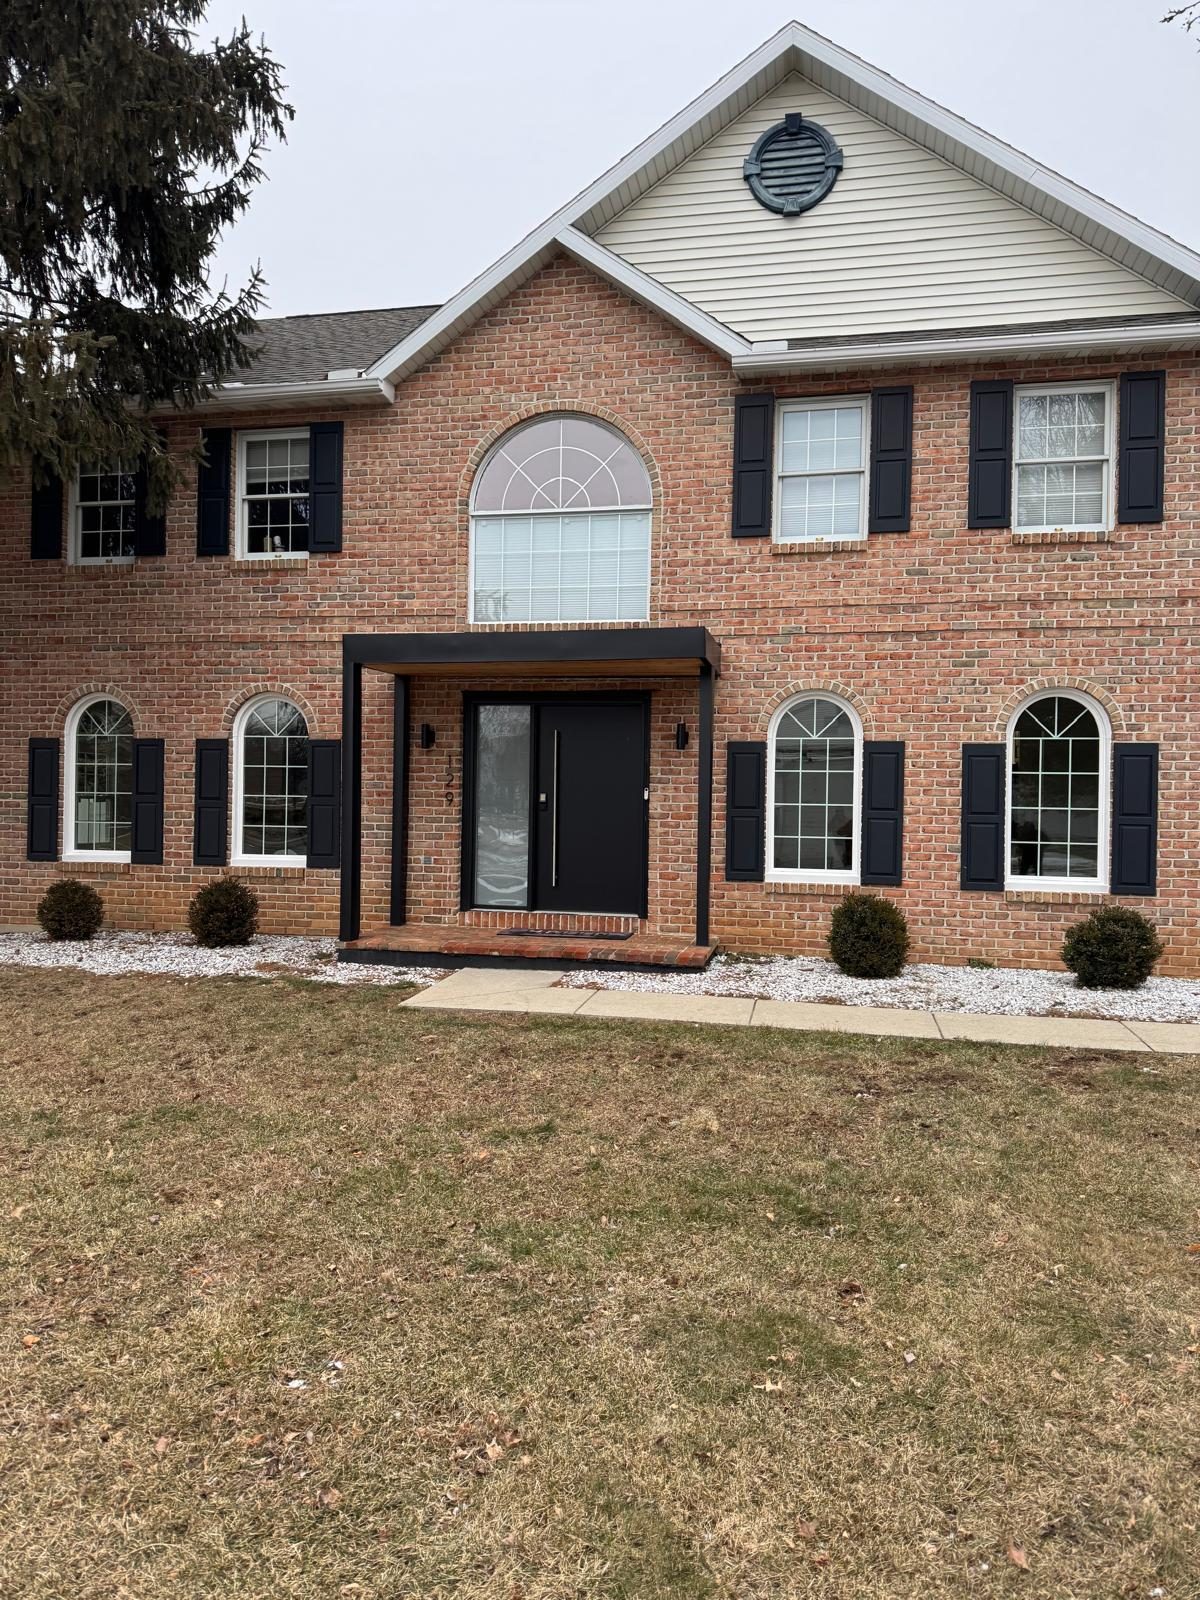
Doors install next, following similar flashing protocols. Entry doors receive additional blocking and fastening because wind loads and daily use impose higher structural demands than windows. Crews verify that doors operate smoothly, latch completely, and seal evenly around the weatherstrip perimeter before moving to the next opening.
Week Three: Siding and Trim
With all openings flashed and sealed, crews install housewrap or building paper over the sheathing, lapping seams and integrating with window and door flashing. Siding installs next, starting at the bottom of each wall and working upward. J-channel or trim coil frames each window and door, creating finished transitions between siding and openings.
Soffit, fascia, and corner boards install after field siding, giving the structure a finished appearance. Final caulking seals all horizontal joints, corner miters, and penetrations, creating a weather-resistant barrier that protects the assembly for decades.
Managing the Project Timeline
Even with detailed planning and experienced contractors, exterior makeover projects encounter delays and adjustments. Proactive communication and flexible scheduling minimize disruption.
Weekly Progress Meetings
Schedule brief on-site meetings every Monday or Tuesday to review the coming week’s activities, confirm material deliveries, and address any homeowner questions. These 15 to 20 minute check-ins keep everyone aligned and surface potential issues before they cause delays.
During meetings, ask the project manager to walk you through the work completed the previous week and explain what will happen over the next five to seven days. Verify that the schedule remains on track or understand the reasons for any slippage.
Weather Contingency Plans
Exterior work stops during heavy rain, high winds, and temperatures below 40 degrees Fahrenheit (because sealants and adhesives fail to cure properly in cold conditions). Contractors should have contingency plans for temporary weather protection: tarps over open window and door openings, plastic sheeting over exposed sheathing, and staged material deliveries that don’t leave products sitting outside for extended periods.
Expect that weather will add 10 to 20 percent to the planned duration for projects scheduled between November and March in the Tri State Area. Plan accordingly if you have firm deadlines driven by family events or upcoming property sales.
Cost Considerations
Whole home exterior makeover pricing reflects materials, labor, disposal, and project management. While total investment exceeds any single-trade project, coordinated work typically delivers 12 to 18 percent savings compared to completing the same scope in three separate contracts.
Cost Breakdown by Component
Material and labor costs vary by product grade, home size, and site conditions. Typical allocation for a comprehensive exterior makeover:
- Windows: 35 to 40 percent of total project cost
- Entry and patio doors: 15 to 20 percent
- Siding and trim: 30 to 35 percent
- Flashing and air sealing: 5 to 8 percent
- Disposal and site protection: 3 to 5 percent
Premium window lines, custom door configurations, and fiber cement siding shift these percentages upward. Value-oriented vinyl windows, steel doors, and vinyl siding reduce materials cost but may increase long-term maintenance expenses.
Financing and Payment Structure
Most Tri State Area contractors request payment in thirds: one-third at contract signing (covers material deposits), one-third at substantial completion (when windows, doors, and siding are installed but final details remain), and final third after inspection and homeowner walkthrough.
Some homeowners finance exterior makeovers through home equity lines of credit, renovation loans, or contractor financing programs. Compare interest rates, repayment terms, and prepayment penalties before committing. Avoid contractors who demand full payment before work begins or refuse to provide detailed invoices breaking out materials, labor, and profit margins.
Post-Installation Maintenance
A properly installed whole home exterior requires minimal maintenance, but neglecting basic care shortens material lifespan and voids warranties.
Annual Inspection Checklist
Walk the exterior perimeter each spring and fall to check for:
- Caulk joints that have cracked or pulled away from siding or trim
- Window weep holes blocked by dirt, spider webs, or debris
- Door weatherstrip that has compressed, torn, or detached
- Siding panels that have warped, cracked, or loosened from wind
- Soffit and fascia joints separating or showing water stains
Address any issues immediately rather than waiting for the next contractor visit. Most maintenance items take 15 to 30 minutes and require only caulk, a utility knife, and a ladder.
Cleaning and Care
Vinyl and fiber cement siding benefit from annual washing with a garden hose or pressure washer set to low pressure (1,200 to 1,500 PSI). Remove dirt, pollen, and mildew before they stain the surface permanently. Avoid high-pressure settings that can drive water behind siding or damage surface finishes.
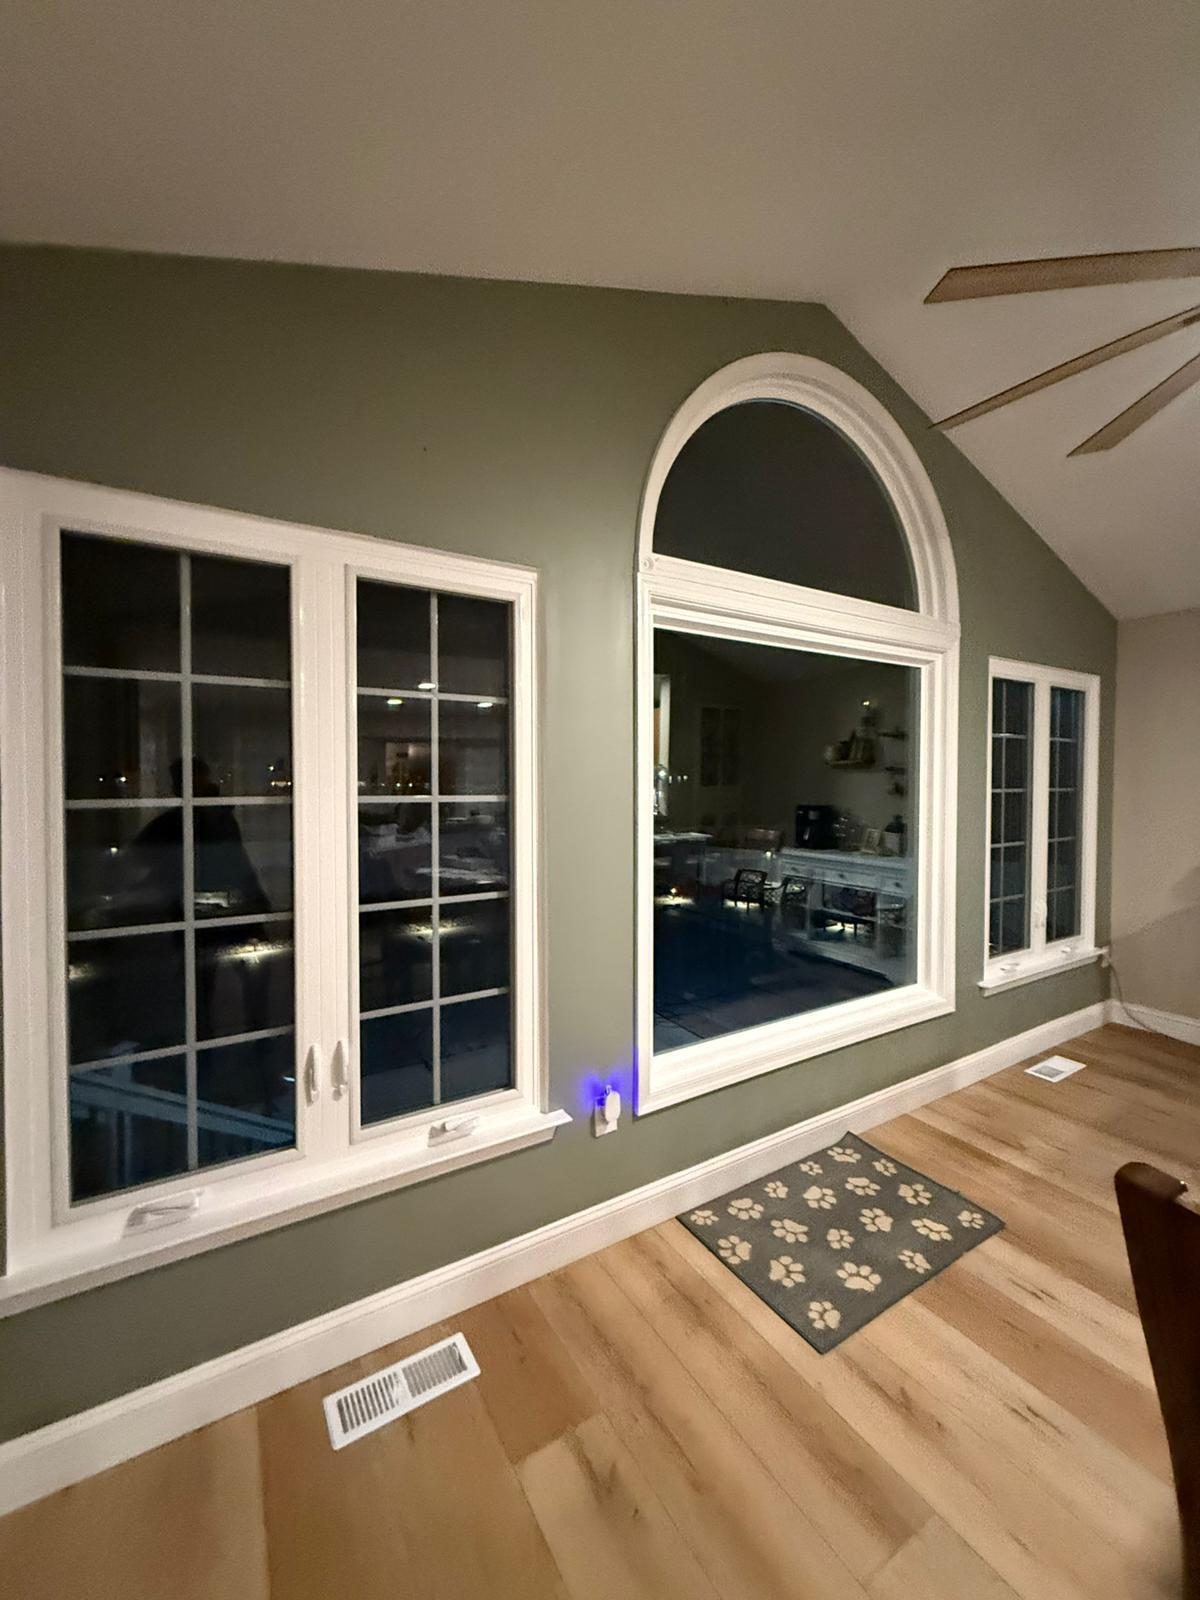
Clean window glass quarterly with standard glass cleaner. Lubricate door hinges and lock mechanisms annually with silicone spray or graphite powder. Check weatherstrip condition each time you clean, and replace any torn or compressed sections immediately to maintain energy performance.
Contractor Tip: Schedule your annual exterior inspection for mid-April, after winter freeze-thaw cycles but before spring pollen season. This timing reveals winter damage early enough to repair before summer storms arrive, and you’ll catch any caulk failures or flashing issues while they’re still minor.
Common Challenges and Solutions
Multi-service projects introduce coordination complexity that single-trade work avoids. Anticipating common challenges helps homeowners and contractors navigate them smoothly.
Material Delivery Timing
Windows often have 4 to 6 week lead times, doors 3 to 5 weeks, and siding 1 to 2 weeks. Contractors must order windows earliest to maintain schedule integrity, but this creates risk if demolition reveals unexpected structural issues that change window sizes or quantities.
Experienced contractors mitigate this by performing a detailed pre-construction inspection that identifies potential structural problems before finalizing window orders. They also maintain relationships with suppliers who accommodate reasonable change orders without restarting manufacturing timelines.
Color Matching Across Product Lines
Even when you select ‘white’ windows, ‘white’ trim, and ‘white’ siding, these whites rarely match perfectly. Manufacturers formulate colors independently, and material type affects appearance: vinyl white looks different from painted wood white, which differs from fiber cement white.
Rather than aiming for perfect color match, design for deliberate contrast or coordination within a color family. Specify that all whites will be ‘warm white’ or all ‘cool white,’ giving the contractor direction to select products within that tone family even if exact matches prove impossible.
Living in the Home During Construction
Exterior projects rarely require homeowners to vacate, but expect noise, dust, and restricted access to certain areas. Crews typically work 8 AM to 5 PM Monday through Friday, with occasional Saturday hours to maintain schedule.
Plan for limited use of affected rooms during window and door installation (expect drafts, noise, and temporary loss of privacy). Cover interior furnishings near work areas with plastic sheeting. Relocate vehicles from the driveway to allow material deliveries and equipment access. Keep pets indoors and inform neighbors about the project timeline to minimize surprise or concern.
Frequently Asked Questions
How long does a whole home exterior makeover take from start to finish?
A comprehensive whole home exterior makeover combining window replacement, door installation, and siding renovation typically requires 3 to 5 months from initial consultation to final inspection. This timeline includes 2 to 3 weeks for design and planning, 3 to 6 weeks for material procurement, and 2 to 4 weeks for installation work. Weather delays, unexpected structural repairs, or custom material orders can extend the schedule by 15 to 30 percent. Contractors experienced in coordinated projects build buffer time into schedules to accommodate these variables.
Is it more cost-effective to bundle window, door, and siding projects together?
Coordinating window replacement, door installation, and siding work into a single managed project typically reduces total cost by 12 to 18 percent compared to completing the same scope in three separate contracts. Savings come from shared mobilization expenses, consolidated material deliveries, reduced labor setup time, and single-permit fees. Additionally, integrated flashing and air sealing details installed during coordinated work prevent moisture intrusion and energy loss that often result from sequential installations, reducing long-term repair costs.
Do I need to leave my home during an exterior renovation project?
Homeowners rarely need to vacate during exterior makeover projects because work occurs primarily outside the building envelope. However, expect temporary inconveniences during window and door installation: noise from power tools, drafts when openings are exposed, restricted access to certain rooms, and dust migration despite protective plastic sheeting. Most contractors work 8 AM to 5 PM Monday through Friday, allowing families to maintain normal routines during evenings and weekends. Plan to relocate vehicles from the driveway, keep pets indoors, and cover furniture near work areas.
What happens if we discover structural damage during demolition?
Contractors frequently uncover rotted framing, damaged sheathing, or termite damage when removing old windows, doors, and siding. Reputable contractors stop work immediately upon discovering structural issues, document conditions with photos, and present repair options with cost estimates before proceeding. Structural repairs typically add 1 to 3 days to the installation schedule and increase project cost by 5 to 15 percent depending on damage extent. Homeowners should maintain a contingency budget of at least 10 percent above the contracted price to cover unexpected repair work.
How do I maintain my new windows, doors, and siding?
Properly installed exterior components require minimal maintenance but benefit from annual inspections and basic care. Walk the exterior perimeter each spring and fall to check caulk joints, window weep holes, door weatherstrip, and siding attachment. Wash vinyl or fiber cement siding annually with a garden hose or low-pressure washer. Clean window glass quarterly with standard glass cleaner. Lubricate door hinges and locks annually with silicone spray. Replace damaged weatherstrip immediately to maintain energy performance. Most maintenance tasks take 15 to 30 minutes and require only basic tools and supplies.
Ready to Start Your Whole Home Exterior Transformation?
Coordinating window replacement, door installation, and siding renovation into a unified project delivers superior results compared to staged, single-trade approaches. Integrated flashing details protect your home from water intrusion. Cohesive color palettes enhance curb appeal. Consolidated scheduling reduces disruption and accelerates project completion.
Santos Replacement provides licensed, insured window door and siding installation services across the Tri State Area, including Bucks County PA, Philadelphia suburbs, southern New Jersey, and northern Delaware. Our single project manager approach ensures seamless coordination from initial estimate through final inspection.
Contact us today to schedule a free consultation and receive a detailed whole home exterior makeover estimate. We’ll walk your property, discuss your performance goals, and recommend a material and sequencing plan tailored to your home’s architecture and your family’s timeline.